Quack ![]()
![]()
![]()
![]()
![]()
Here’s an easy tutorial for drawing cats I made, I hope it’s helpful and feel free to ask questions if you have any ![]()
![]()
![]()
![]()
Step 1: Draw an oval or a circle
It doesn’t have to be perfect, just make sure that it’s not too small to add details inside of it and that it kinda has the face shape you’d like the cat to have at the end ![]()
![]()
![]()
![]()

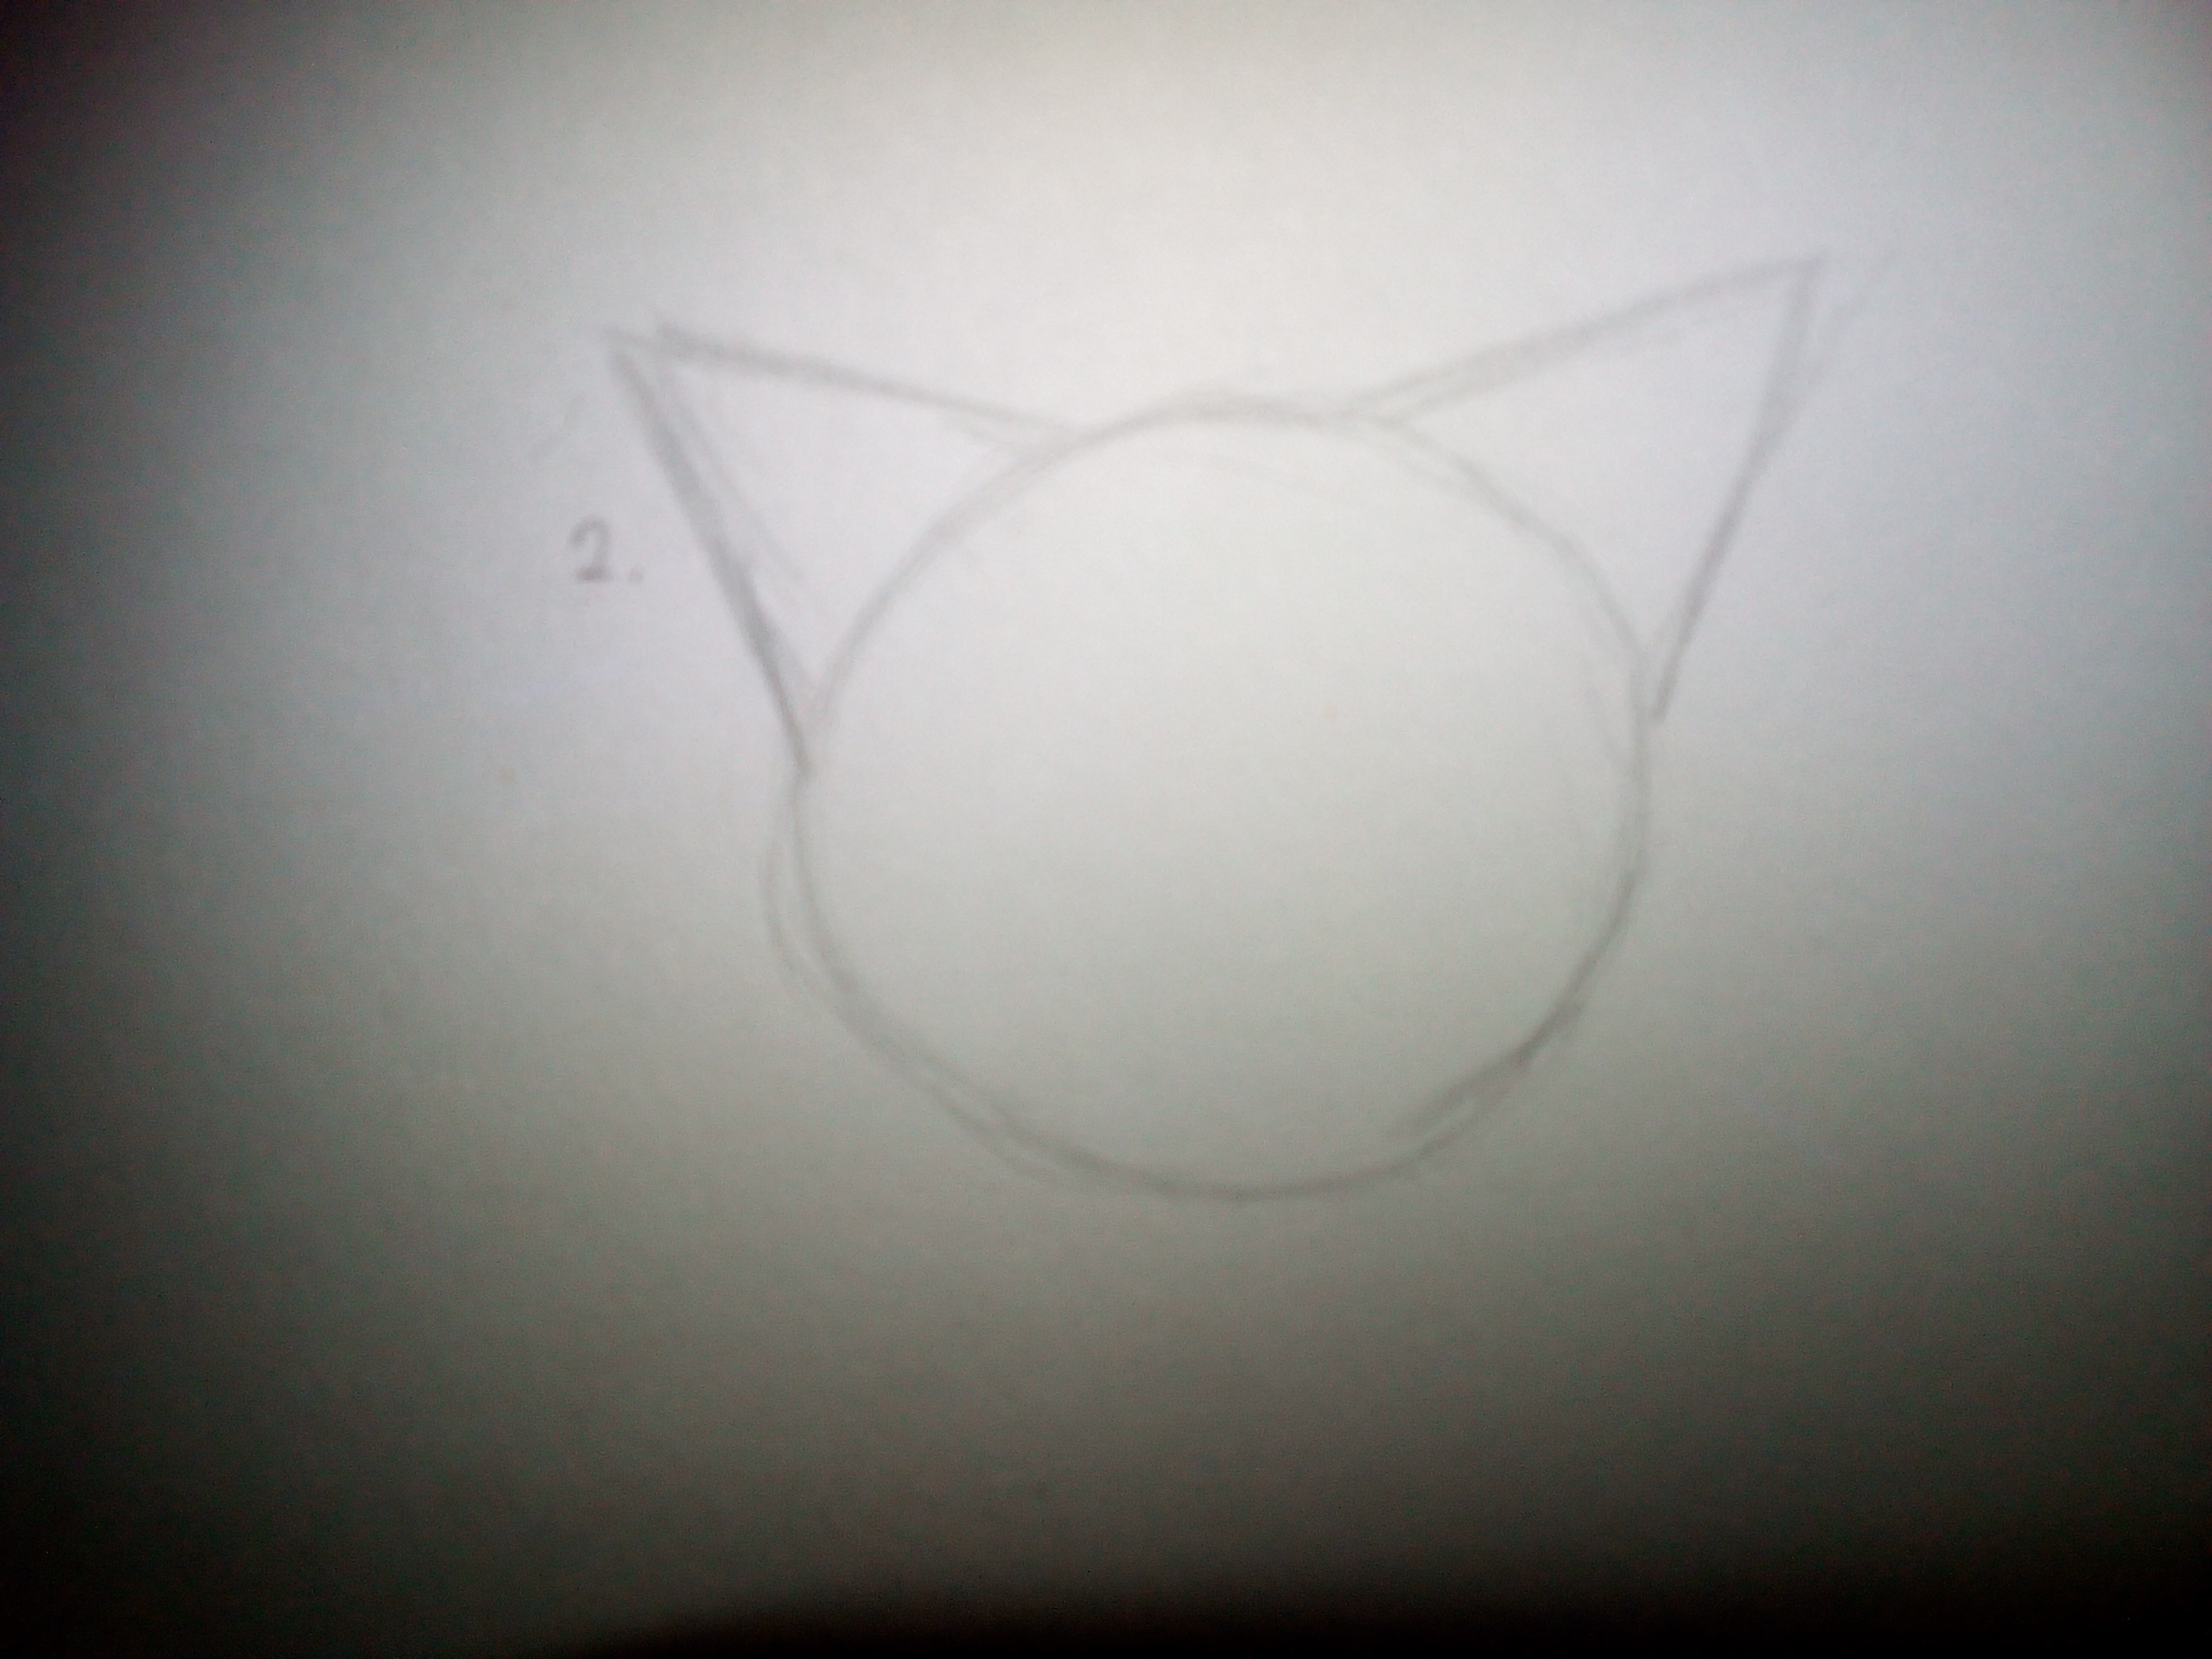
Step 2: Add 2 triangles at the top
Those will be the ears of the cat. Once again, they don’t have to be perfect since we’ll change them a bit later on, they’re just there so you’ll have a basic idea of how the ears will look like ![]()
![]()
![]()
![]()
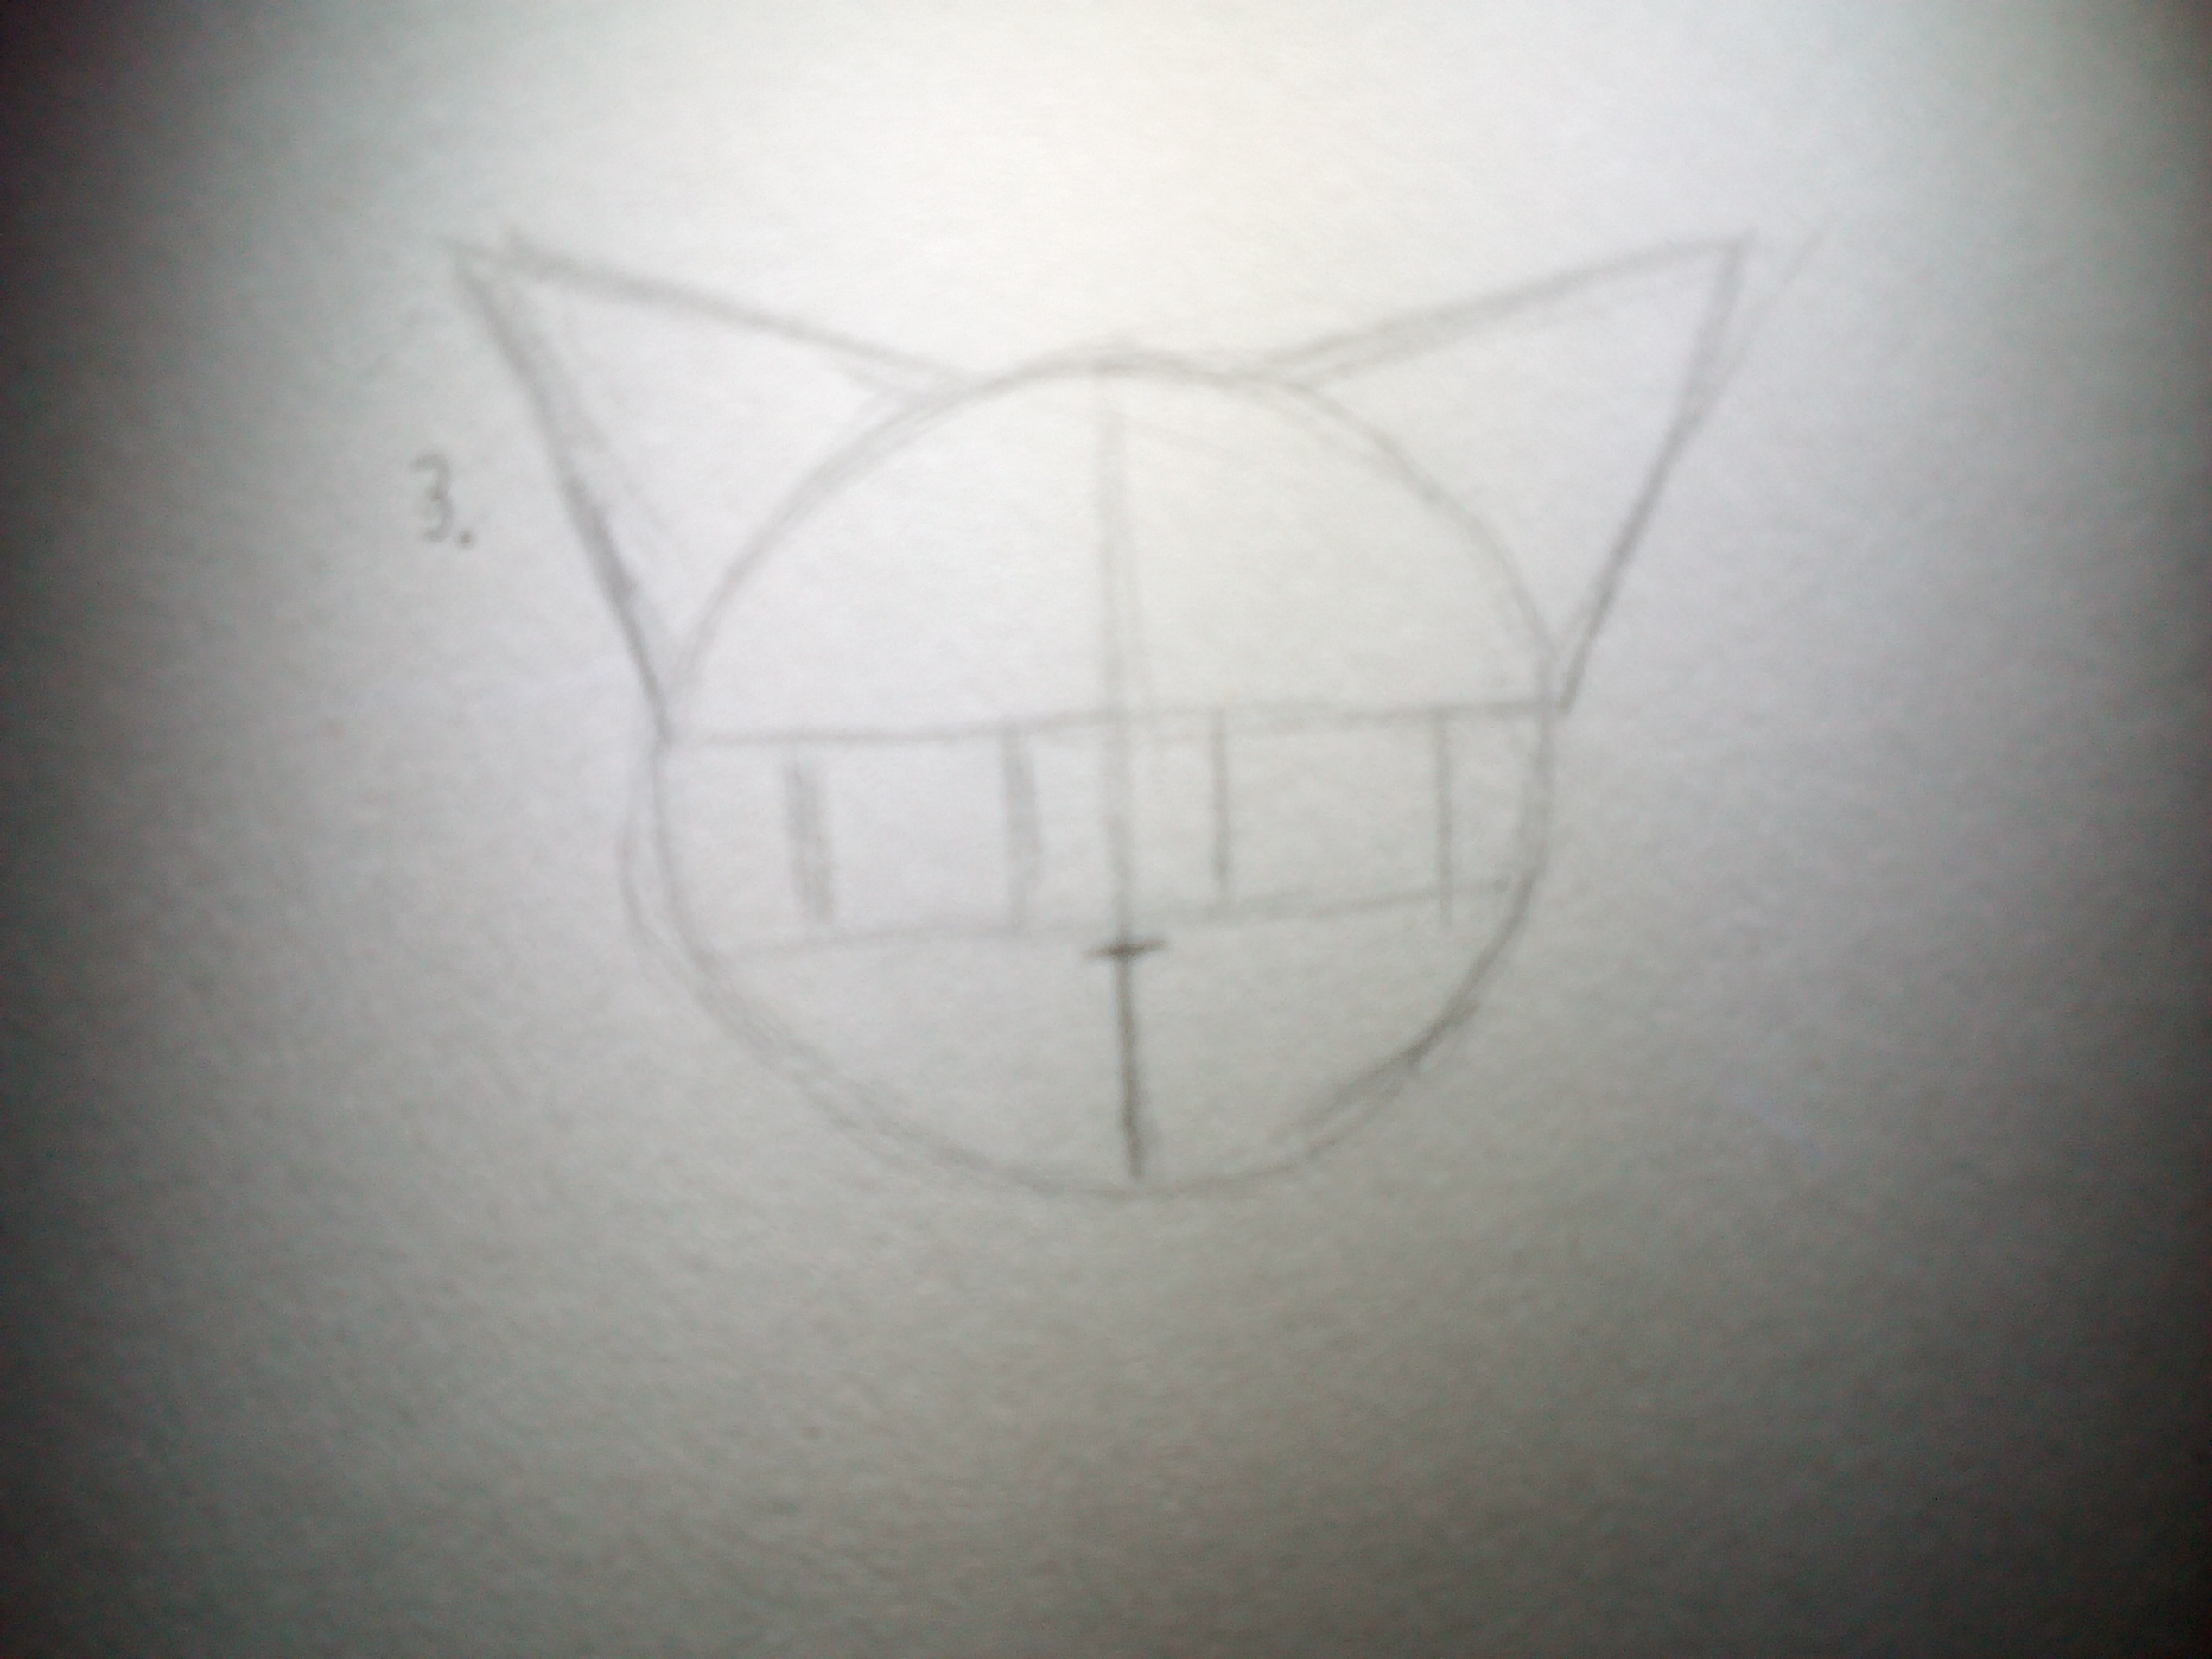
Step 3: Add construction lines
The lines will help you with drawing the face, just make sure to draw them softly so you can erase them easily later or on a separate layer if you’re drawing digitally.
I’ve coloured each line in a different colour to make it easier to understand what I mean, I’ll add the colour of the line I mean in (brackets) to the descriptions. ![]()
![]()
![]()
![]()
Start by drawing a vertical line through the middle of your circle/oval (purple line), add a horizontal line a bit below the triangles next (red) and a parallel line a bit below it (orange). Connect those lines with 2 vertical lines on both sides of the vertical middle line to create the boxes where we’ll later add the eyes (green). Make sure to leave some space in the middle so it’ll look more natural and try to make it as symmetrical as possible. And lastly add a smaller horizontal line a bit below the lower horizontal line (light blue). This will be the upper line of the cat’s nose later on ![]()
![]()
![]()
![]()

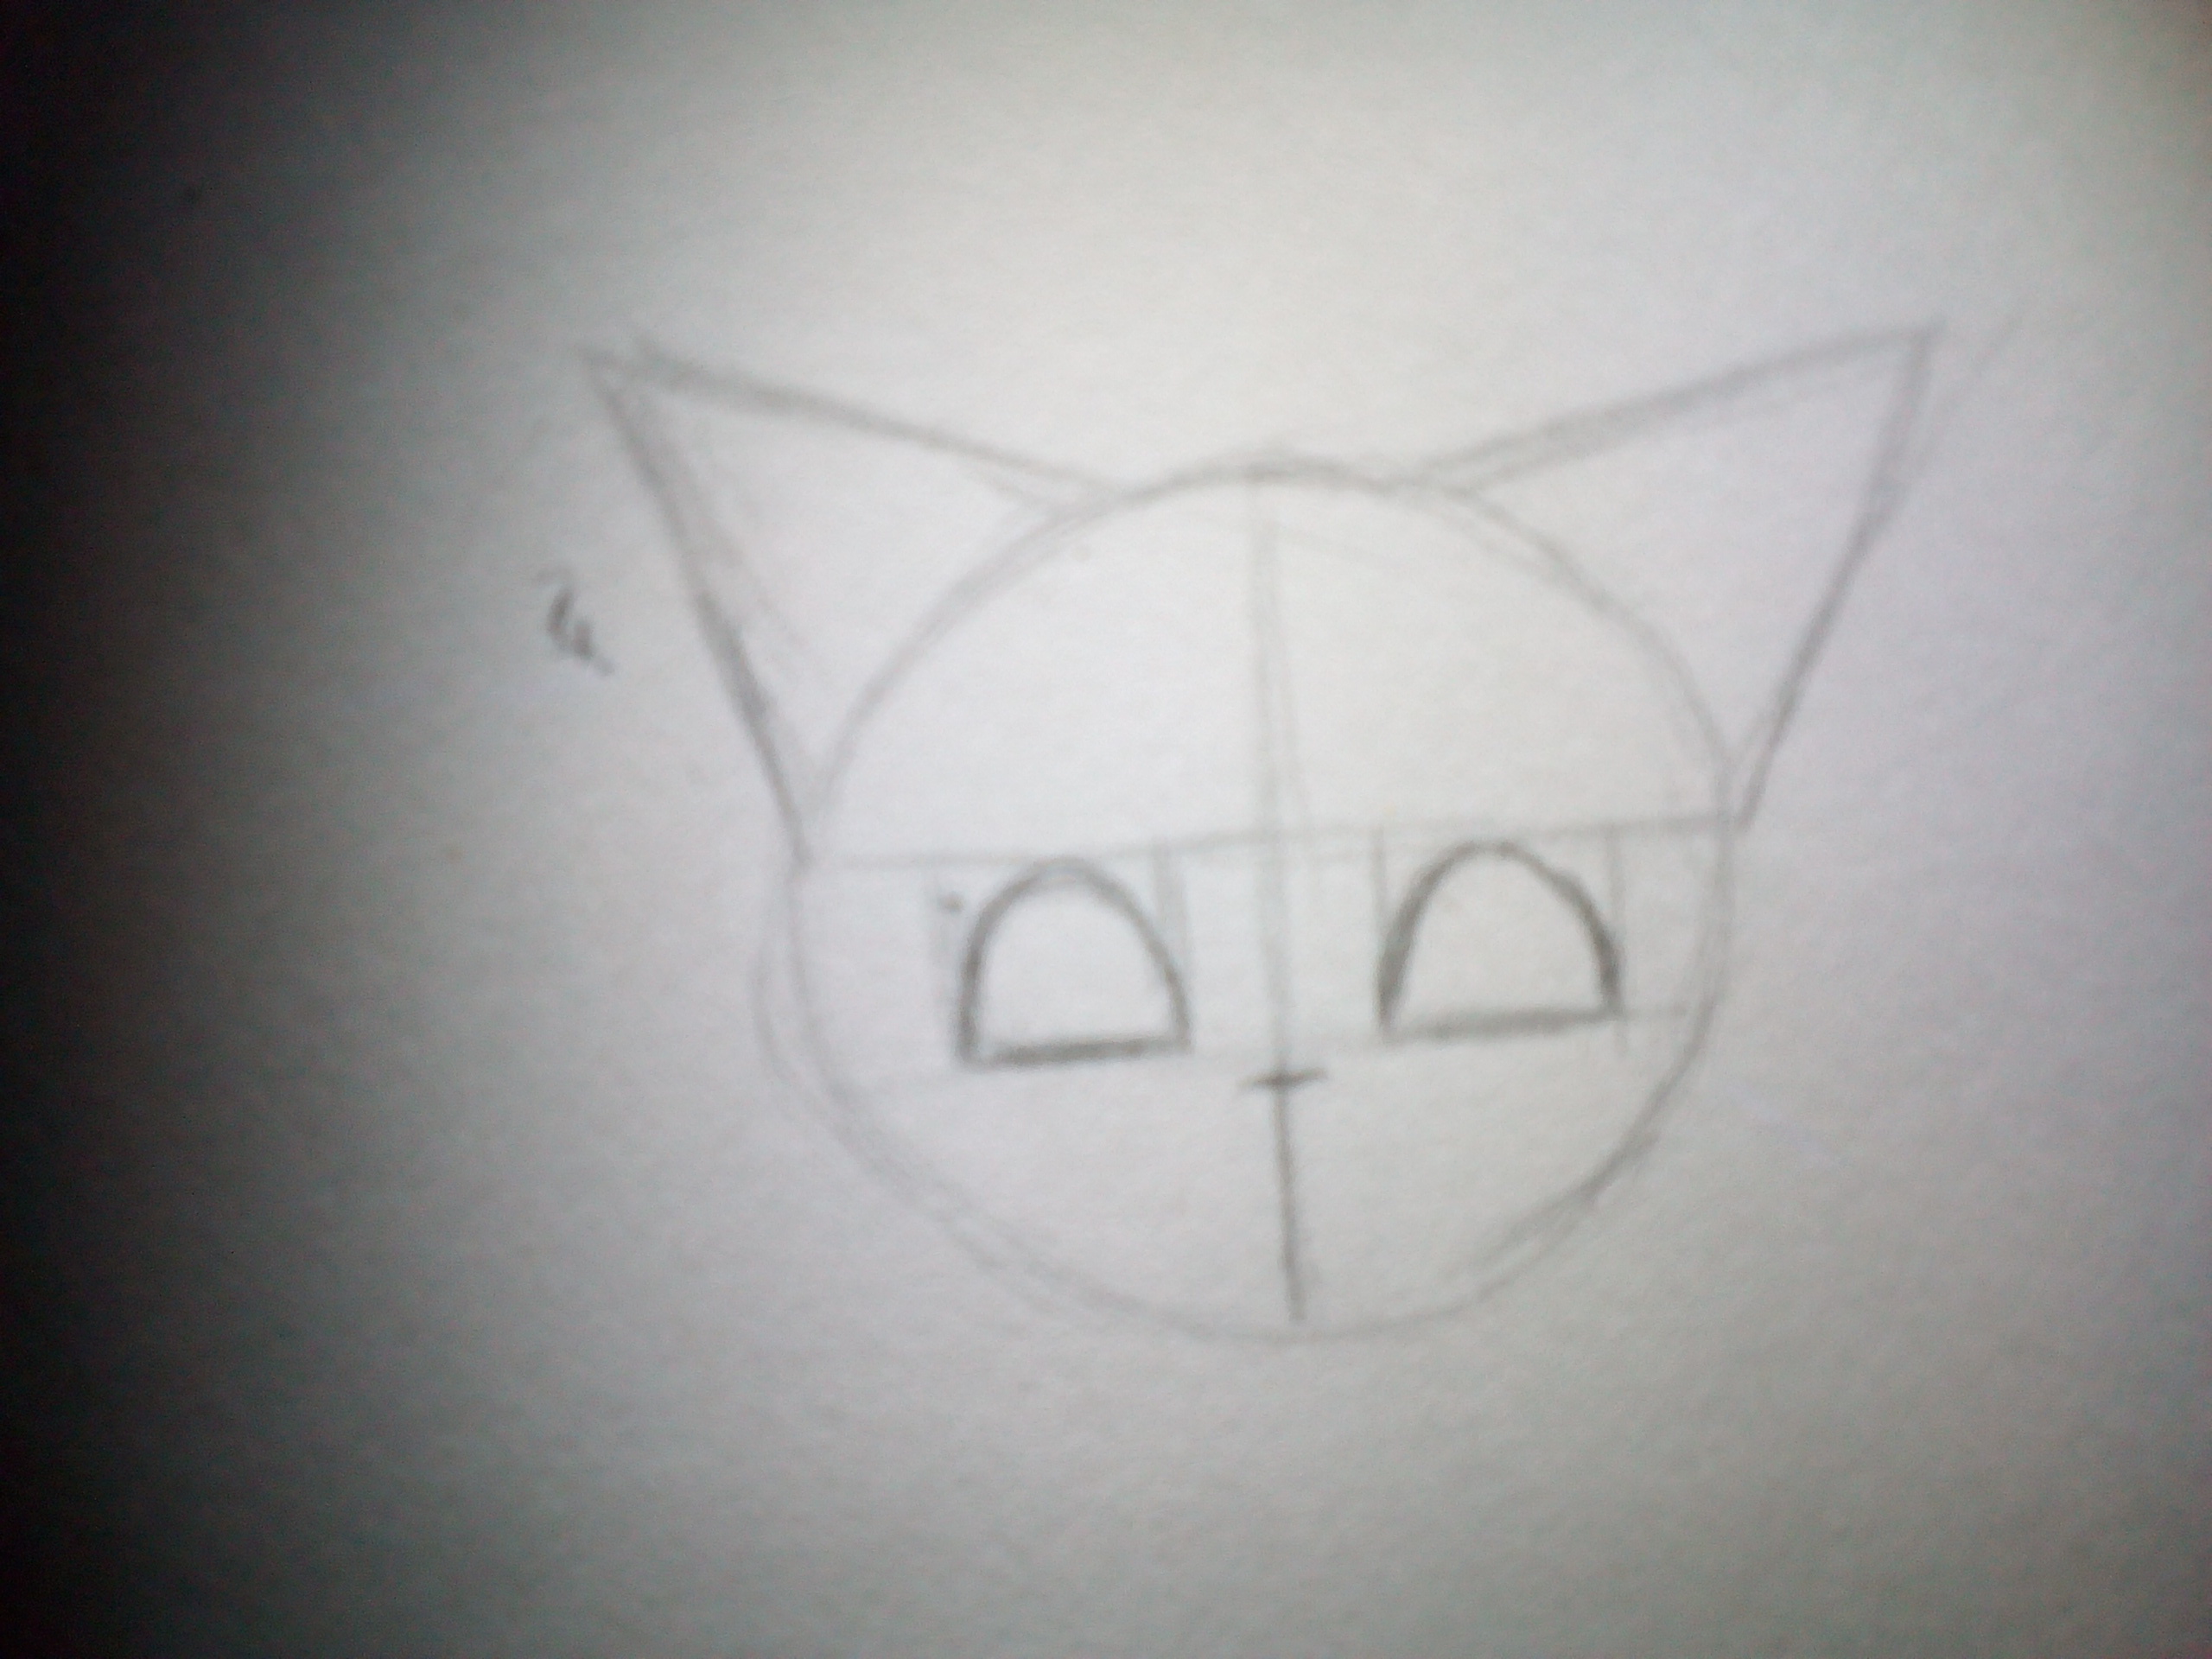
Step 4: Draw the eye shape into the “boxes”
I usually draw the eyes in a half moon shape with a straight line at the bottom, but feel free to experiment with different eye shapes ![]()
![]()
![]()
![]()
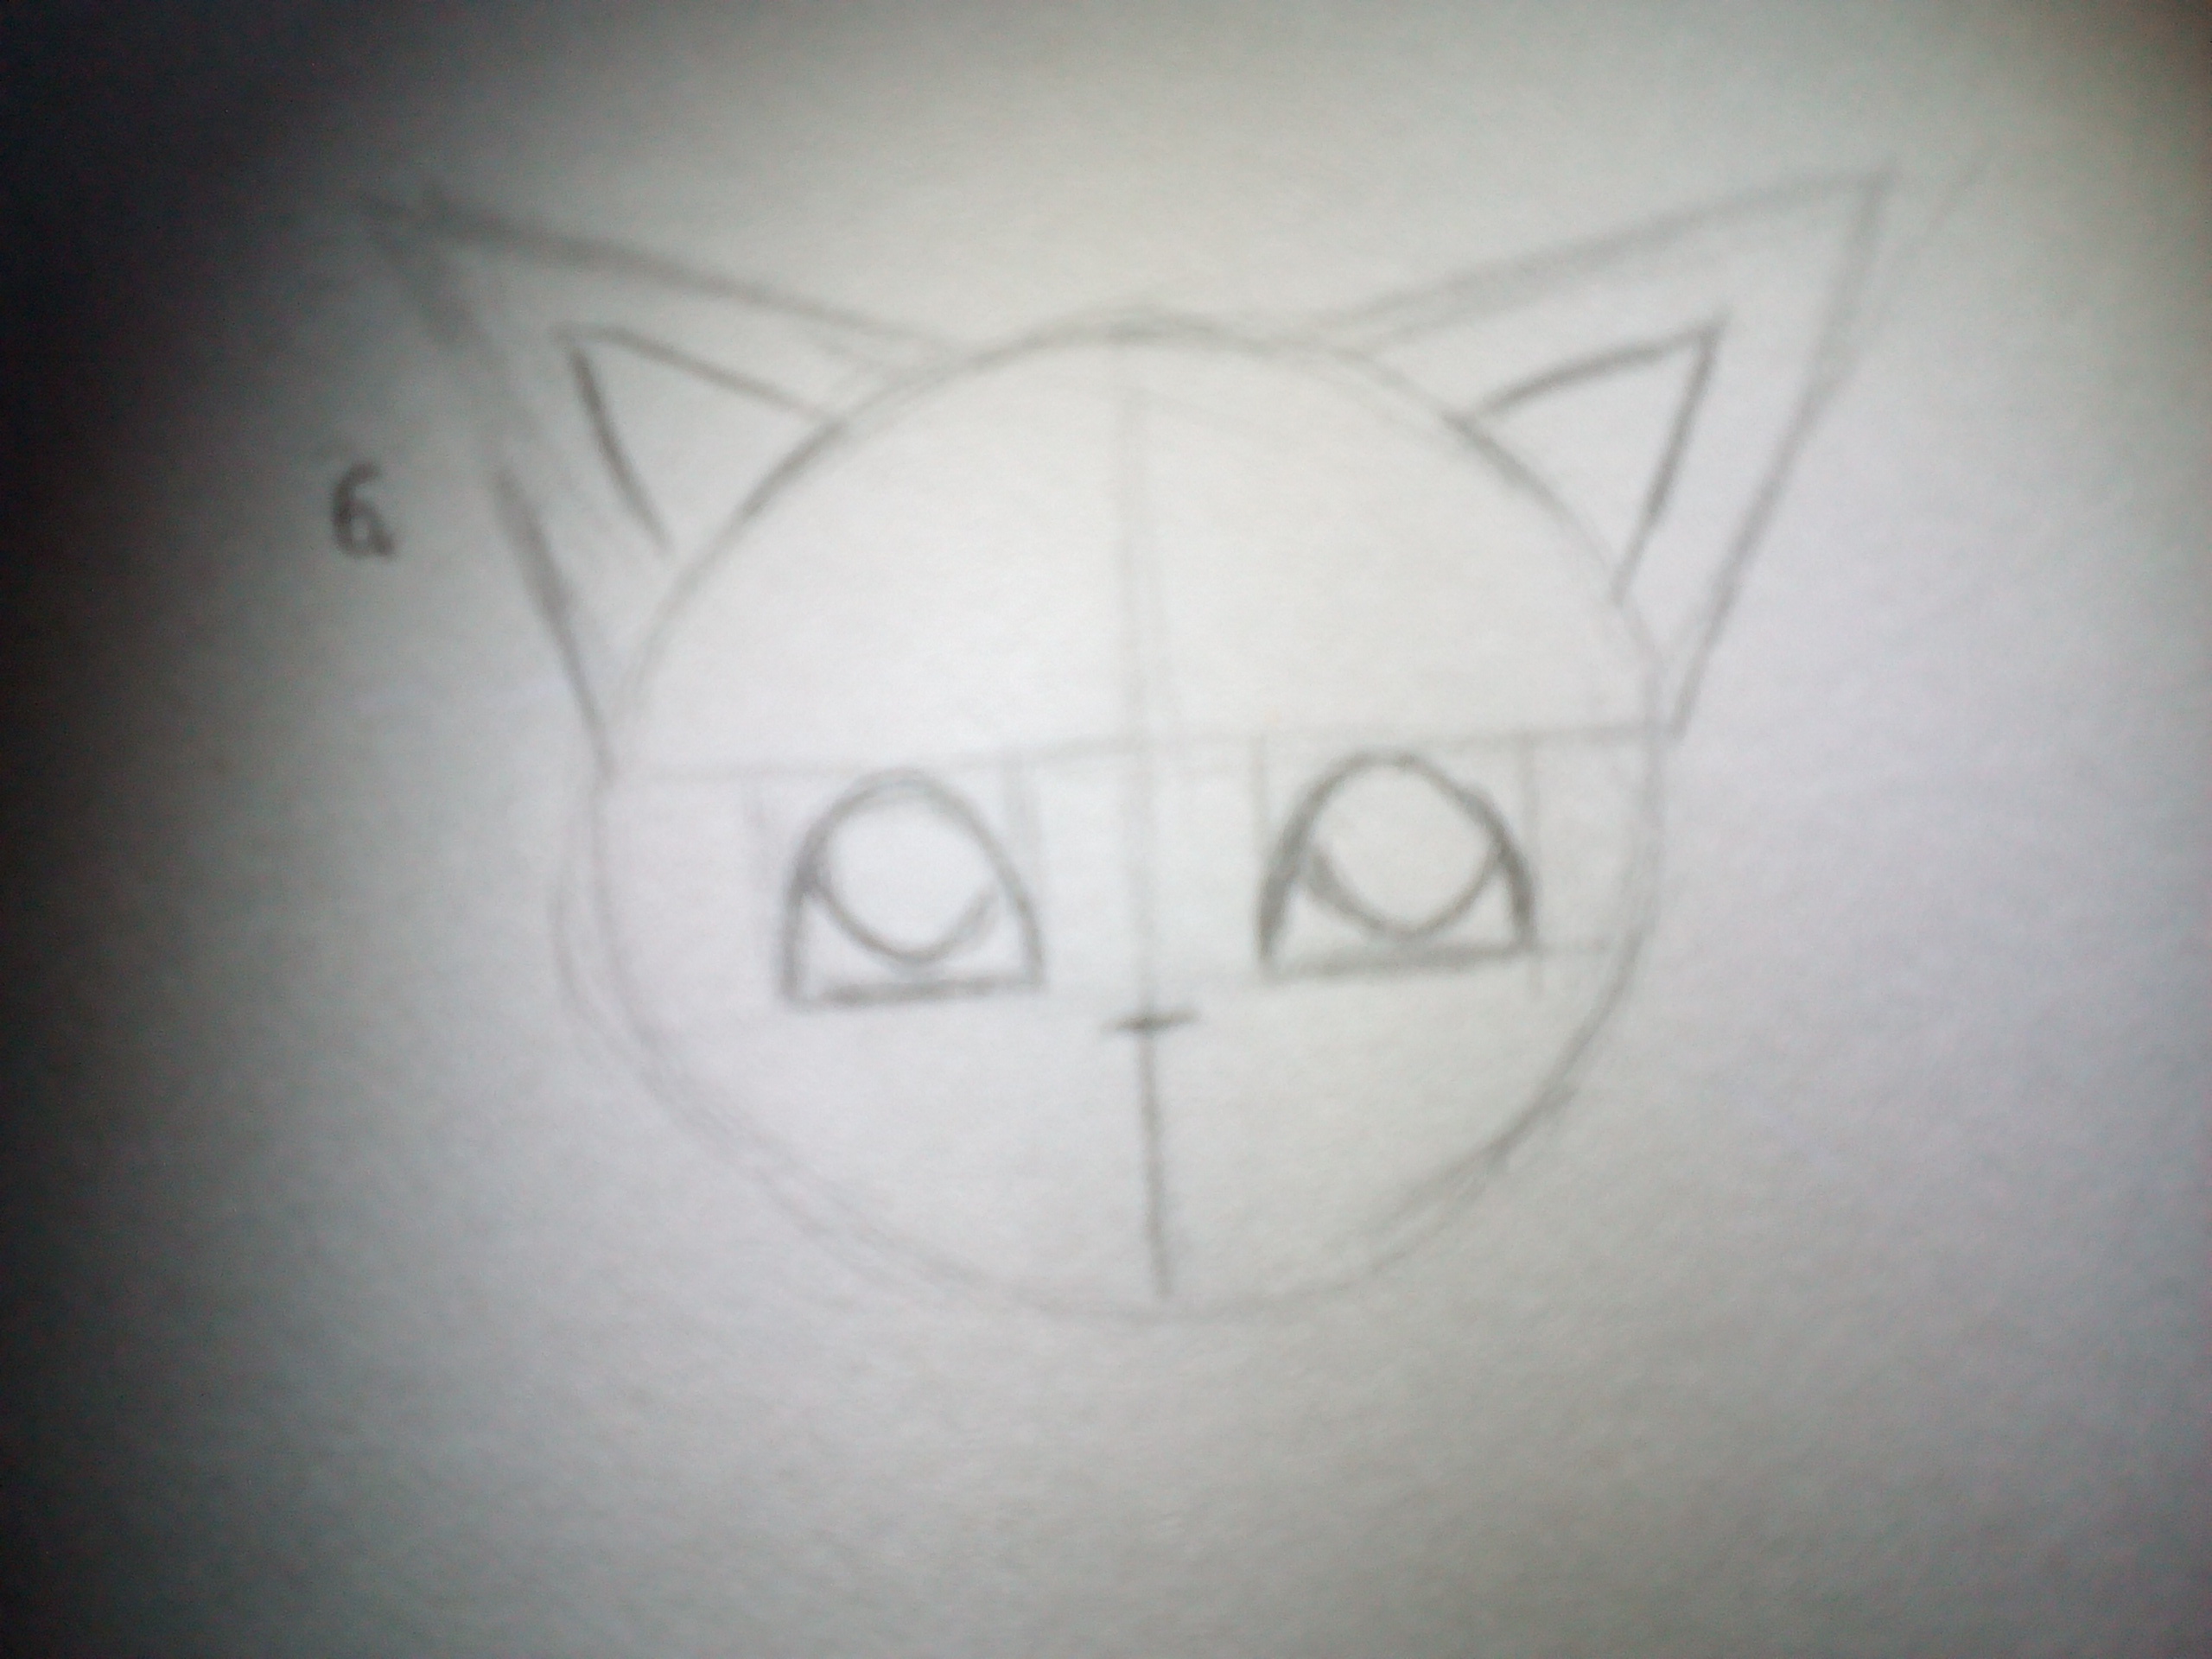
Step 5: Draw a circle into both of the eye shapes
This will be the iris of your cat’s eye, you can also add a smaller circle for the pupil inside of it if you want ![]()
![]()
![]()

Step 6: Draw smaller triangles into the big triangles
This will be the inside of your cat’s ears, feel free to experiment with different sizes or shapes, but I’ll show you the one I usually use ![]()
![]()
![]()
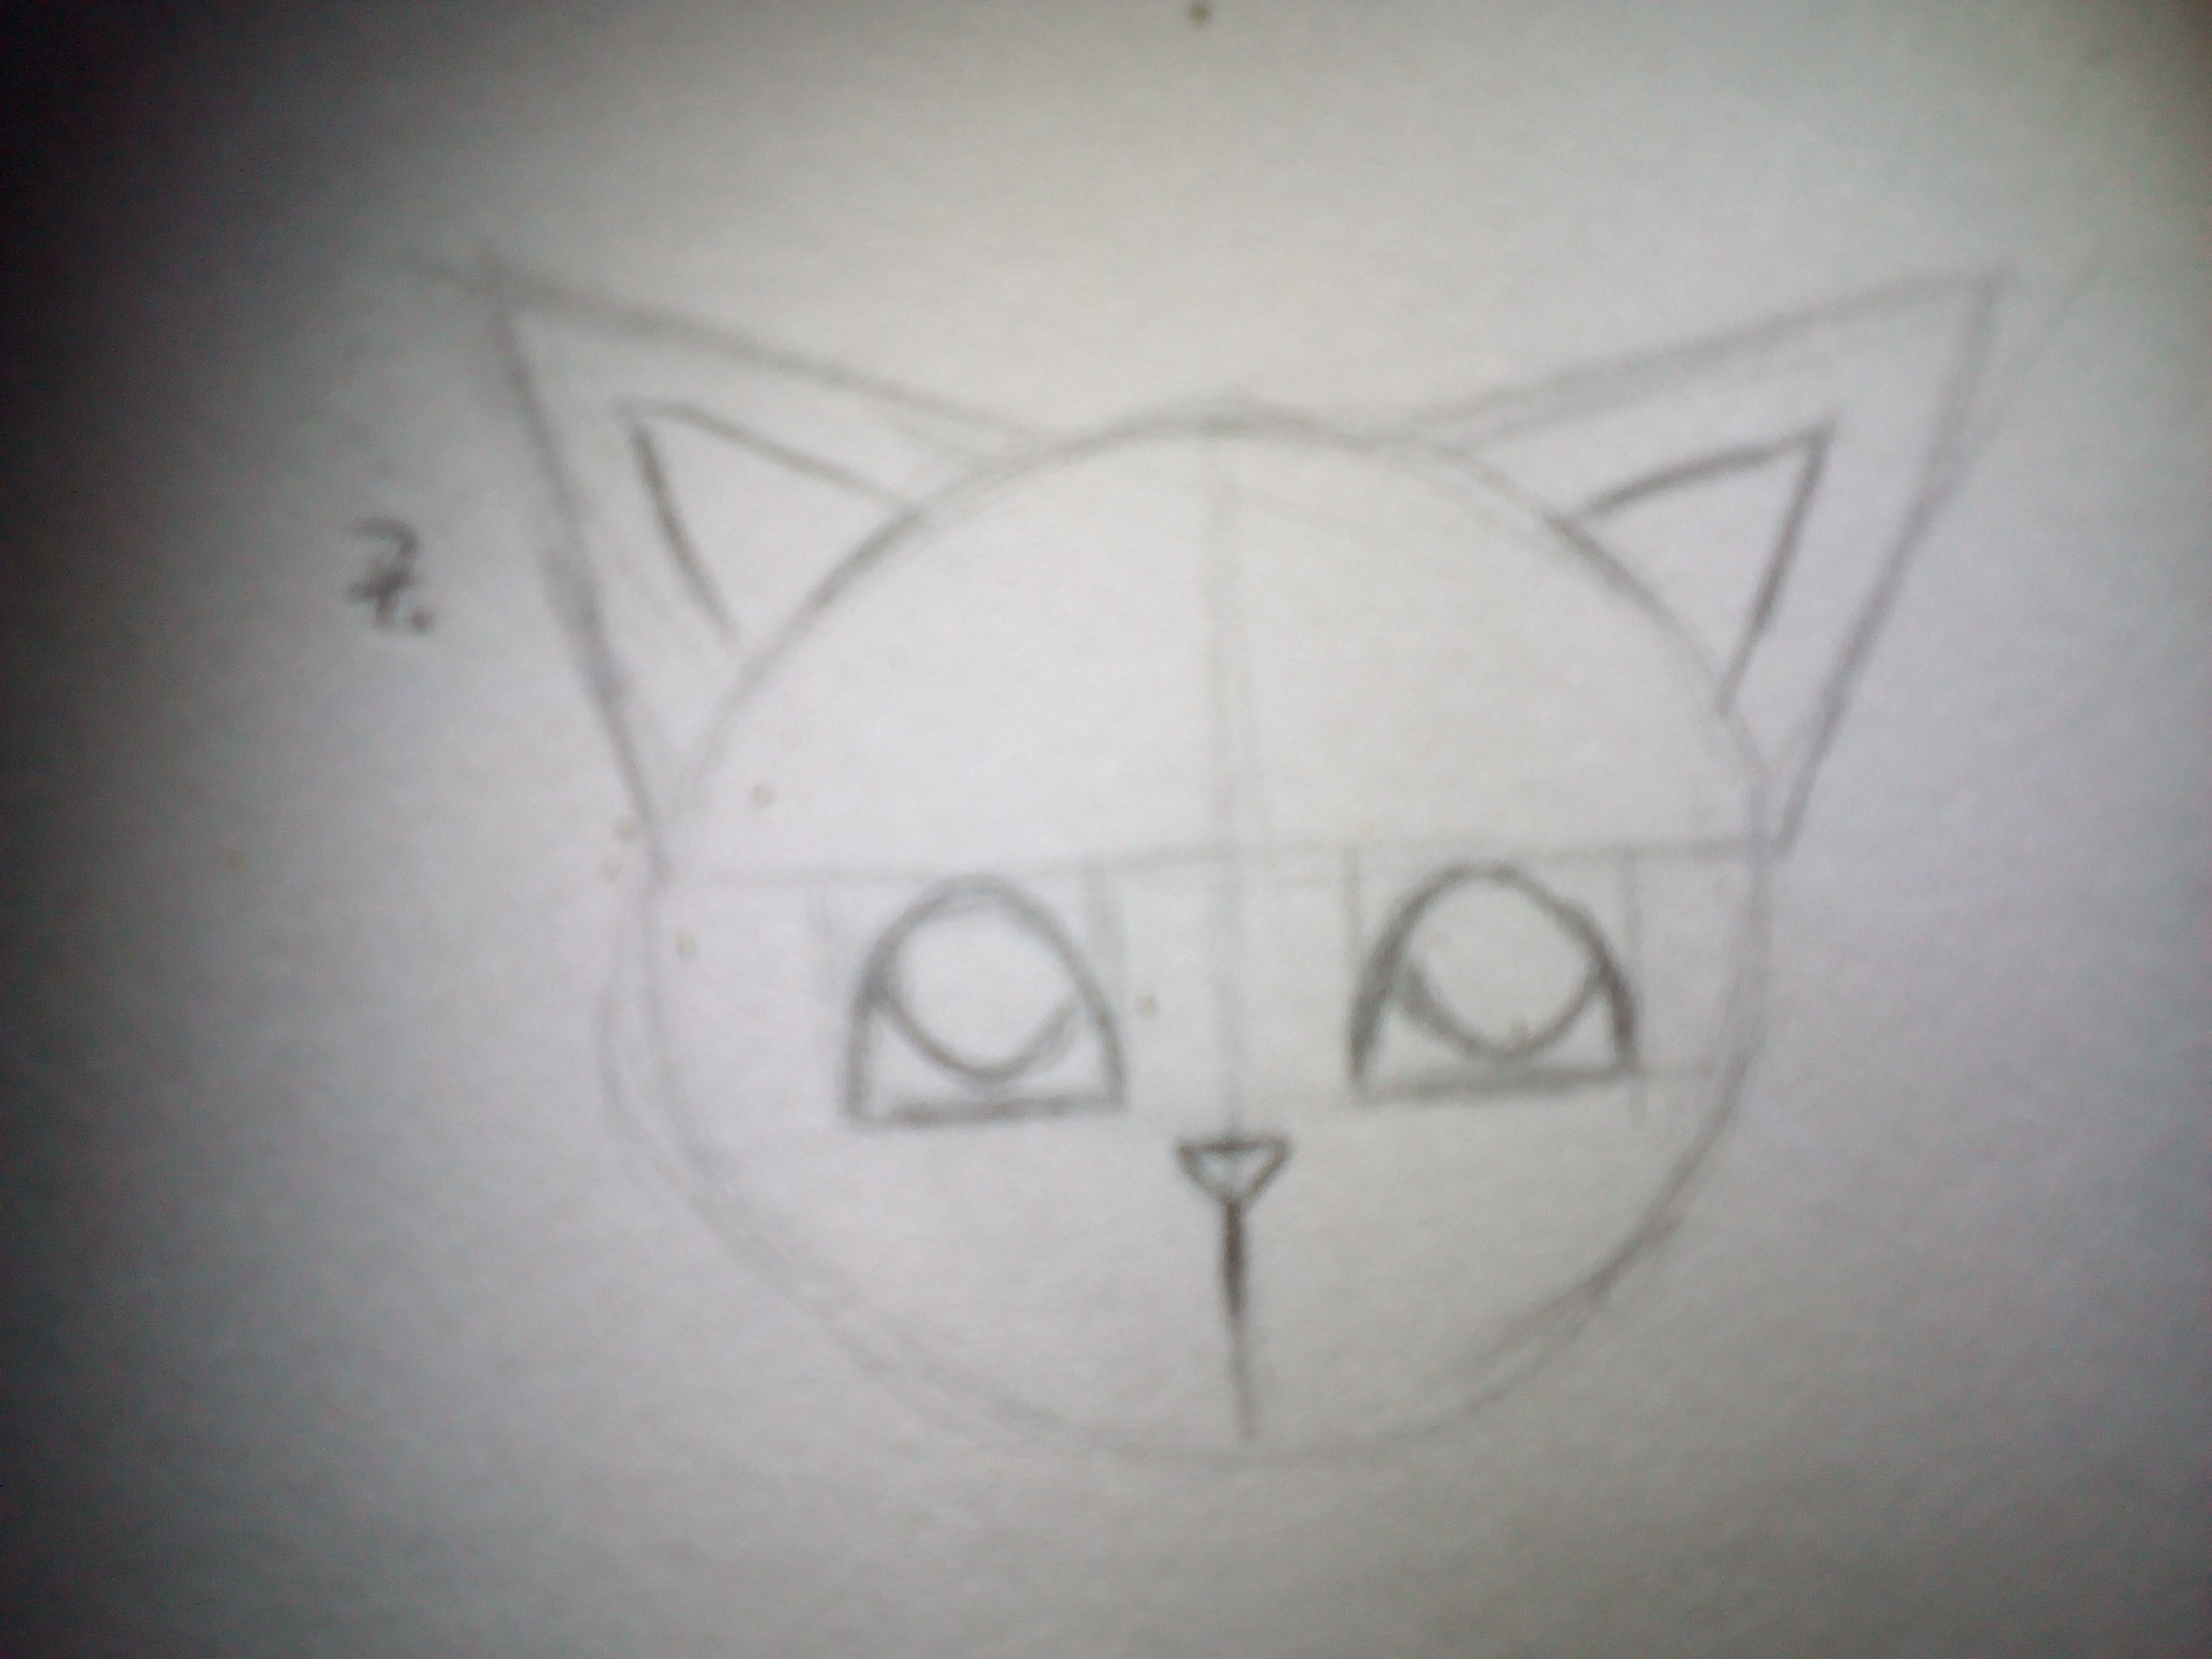
Step 7: Add a small triangle and a line
Remember the small horizontal line we added? We’ll use it to draw the triangle for the nose now ![]()
![]()
![]()
![]()
Try to make it as symmetrical as possible by connecting it on the middle line but don’t make it too big ![]()
![]()
![]()
Then draw a vertical line under the triangle, it should ideally be on the middle line but don’t worry if it’s not perfect ![]()
![]()
![]()
![]()
Step 8: Draw 2 bows under the middle line
This will give your cat the typical cat face shape. Try to make the bows end on the circle line to make it look more natural ![]()
![]()
![]()
![]()

Step 9: Add a small bow
Add another bow under the 2 bows you drew in step 8 and add a bit of shading where the 2 larger bows meet in the middle to give your cat a mouth. ![]()
![]()
![]()
![]()

Step 10: Remove the construction lines and add details
Our cat is almost done now ![]()
![]()
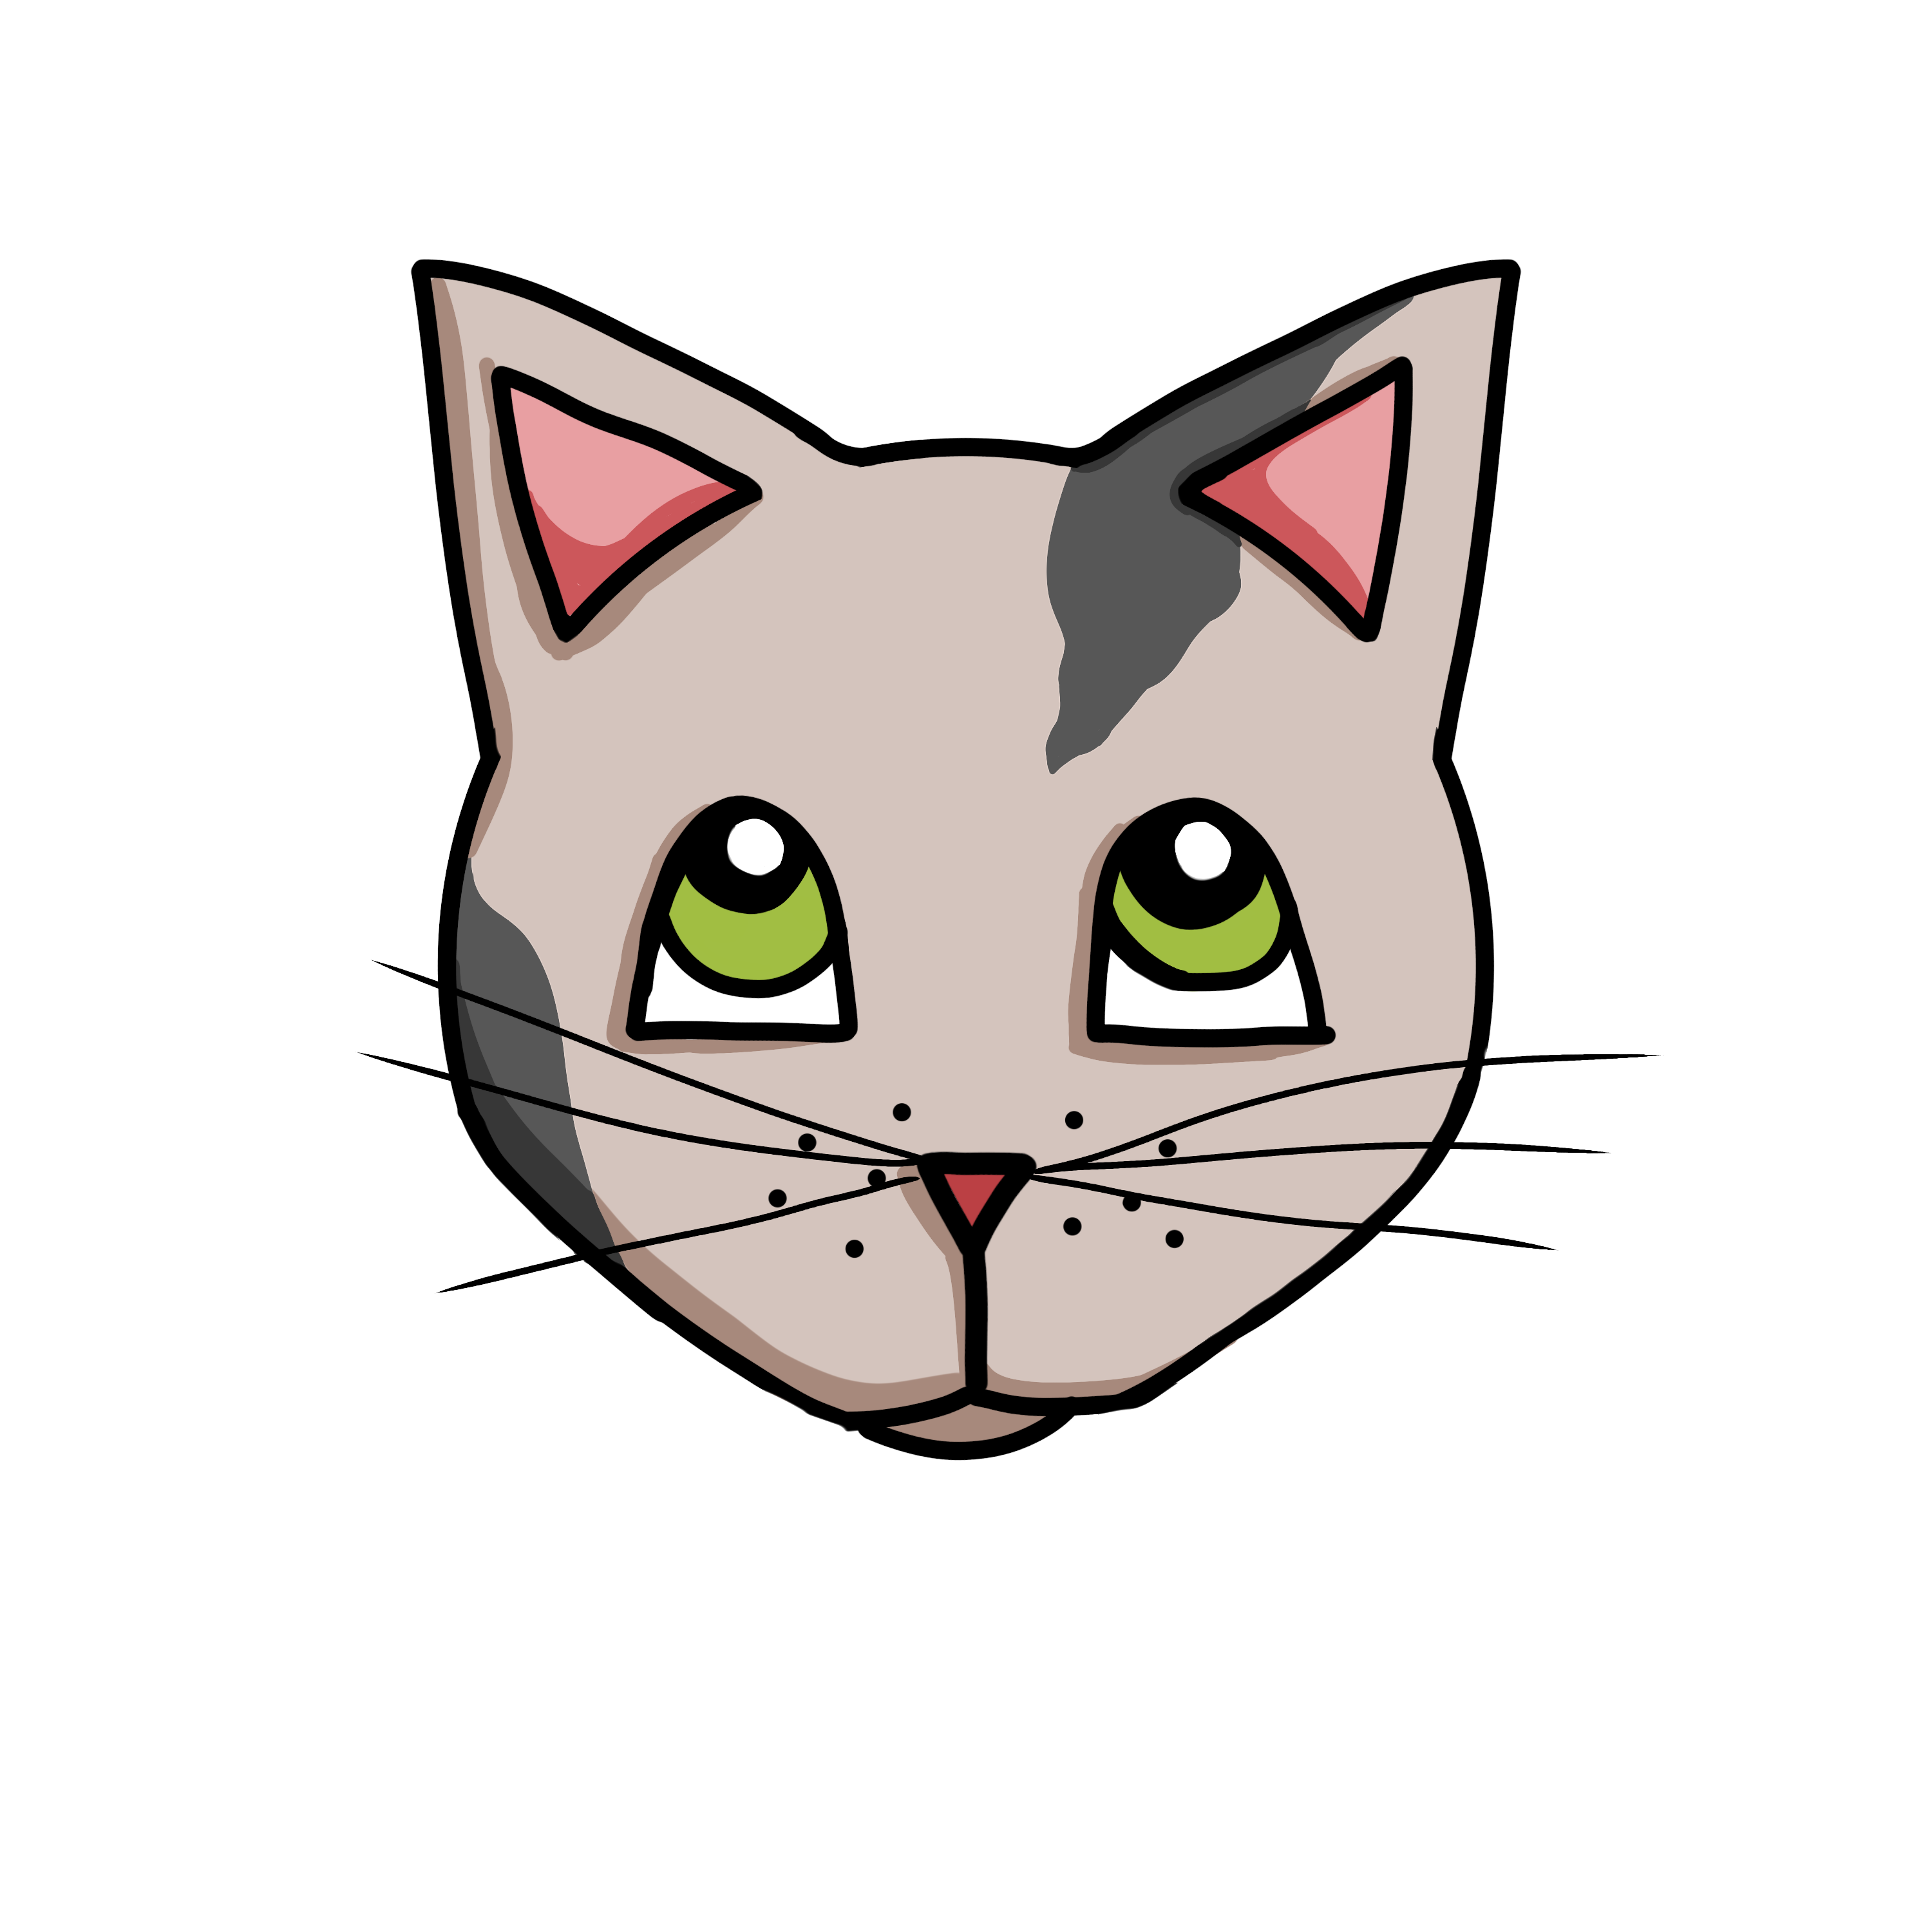
Remove the construction lines we added in step 3 and add some details. You can easily add whiskers with some straight lines and make your cat look more natural by making the outline “fluffier” by adding smaller lines or spikes instead of the circle and triangles from the beginning. I usually just draw many small lines next to each other but there are also other ways to do it, feel free to try out different ways to find the one that works the best for you!
Colour in the nose and the pupils of the cat’s eyes and you’re done, congrats on drawing a cat! ![]()
![]()
![]()
![]()
![]()

Should I do more tutorials in the future? ![]()
![]()
- Yes
- No