Uhh this is gonna be a little bit different than a normal tutorial cuz I usually use a flour packet um… The other recipes I’ve found for this aren’t as good. Using white all purpose flour in my experience makes the dough taste bad/weird.
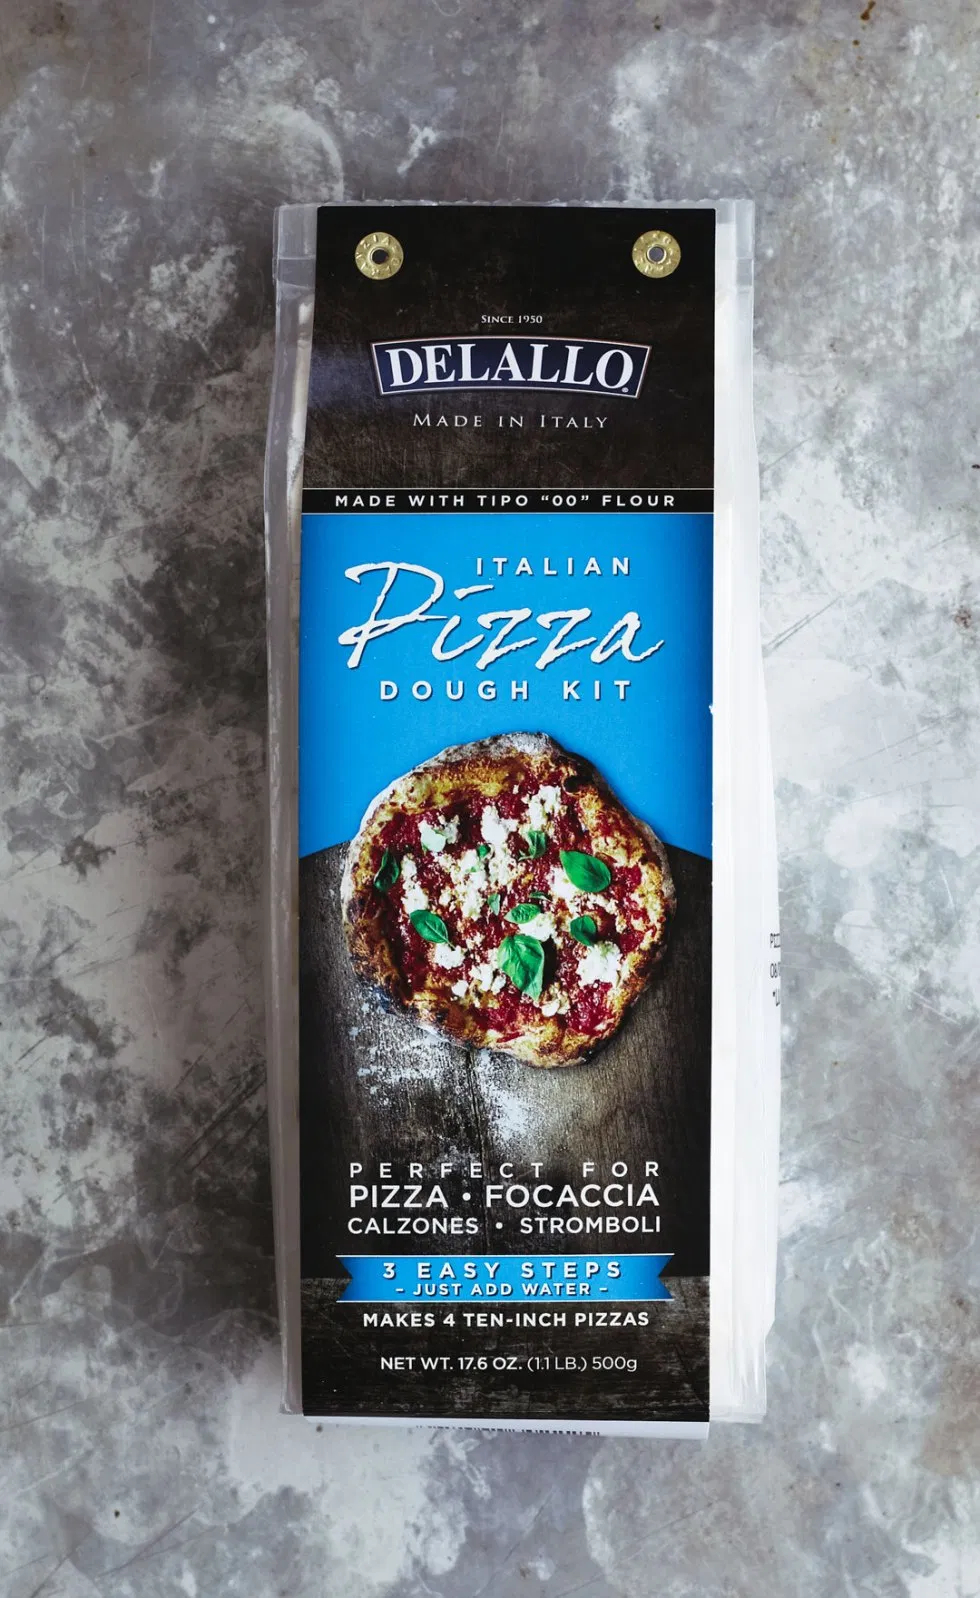
Here’s the flour packet I use! The packet has directions but I’m just gonna tell you what to do myself lol.
Step 1:
Get the flour packet, olive oil, parchment paper, plastic wrap, desired topics, a cooking tray and a large bowl. If you have those huge cooking bowls (usually used for large salads) then maybe consider using your medium-sized bowl of those lol, nothing too big. But if you don’t, just use the largest bowl you have.
Step 2:
Open the packet and pour the flour into the bowl along with the yeast that should be on the packet. When you’re in the store, check to make sure, it should be a little packet that’s attatched to it. If not, get pizza yeast as well. Mix them up well.
Step 3:
Get a cup and fill it with warm water. The flour packet tells you how much to use, but I’ve used it before and it really isn’t enough usually. Pour some of that water in with the flour and yeast, but not a lot. You’re going to pour it in incriments. Stir the first incriment in with a fork or other utensil, trying to make sure it gets across all the flour.
You’re just kinda gonna have to guess and keep pouring. But it’s important there to not pour too much. You want to make sure that most of the flour is damp so it’s needable, but not soaking wet, and you’re probably not going to need that full cup. If you think you’ve added enough you should stop and start kneeding, you can always add in more later, the trick here is to not add in too much. Because you can’t really go back if you do that.
tip: If you DO add in too much, just add some white flour until its the right consistency. I really don’t recommend this though. The dough will be sticky no matter how much you add and it will taste weird so please please don’t add too much water!
Step 4: Start kneading! I usually kind of repeatedly clump the dough all together until it forms and then keeps pushing it against the bowl, rotating each side. If you can only get some of the flour on it no matter how hard you try, then pick the dough shape you already have up and add a little water to the flour that isn’t combined. Mix that around until it’s relatively moist then try again with the kneading. It should feel kinda like clay. Flour isn’t falling off or anything and it’s relatively smooth. There shouldn’t be many cracks and it should relatively be a smooth-ish circle. I’m bad at describing this.
Step 5:
take it out of the bowl that you kneaded it in and chuck some olive oil in there. A little bit. And spread it around so it coats the sides. Then, chuck your dough baby in there and put some plastic wrap over it. It’s going to need to rise for 45 minutes now, so put it in a warm place for the time being. If you don’t have a warm place it’s probably gonna need longer to rise.
Step 6
Once it’s done rising, preheat your oven to 450.
Step 7:
Get out the tray, and put a sheet of parchment paper on it, then take a handful of dough from your dough baby. Put the rest in a plastic bag and put it in the fridge for later use.
Begin shaping the dough. This dough is kinda gonna be hard to shape. Don’t pull on it too hard or it will tear. I suggest flattening it out in your hands first if it’s a ball. Then once its as flat and stretched as you can get it in your hands without pulling it, put it on the parchment paper and continue shaping that way. It needs to be really thin, thin enough to where you can kinda see light through it. It will rise a lot. If you like thicker pizzas though, you don’t have to worry so much about this.
Step 8:
Once it’s ready, put your desired toppings on it. Then put it into the oven! You can follow the packet’s directions, but I strongly suggest to put it in for 4-6 minutes first, then check on it, if the sides appear slightly browned and the cheese is all melted (possibly the top of the cheese slightly browned too) then it’s ready, if not, set 2-3 more minutes. This way you can control how browned it gets so it doesn’t burn or undercook. It should be done and really good if the bottom is slightly browned and hard. If it’s still a little too soft, put it in the oven again for 2-3 more minutes as desired.
Step 9:
Take it out of the oven and off the tray, careful not to burn yourself and cut it as desired. Then, it’s done! You have pizza!