My process is usually:
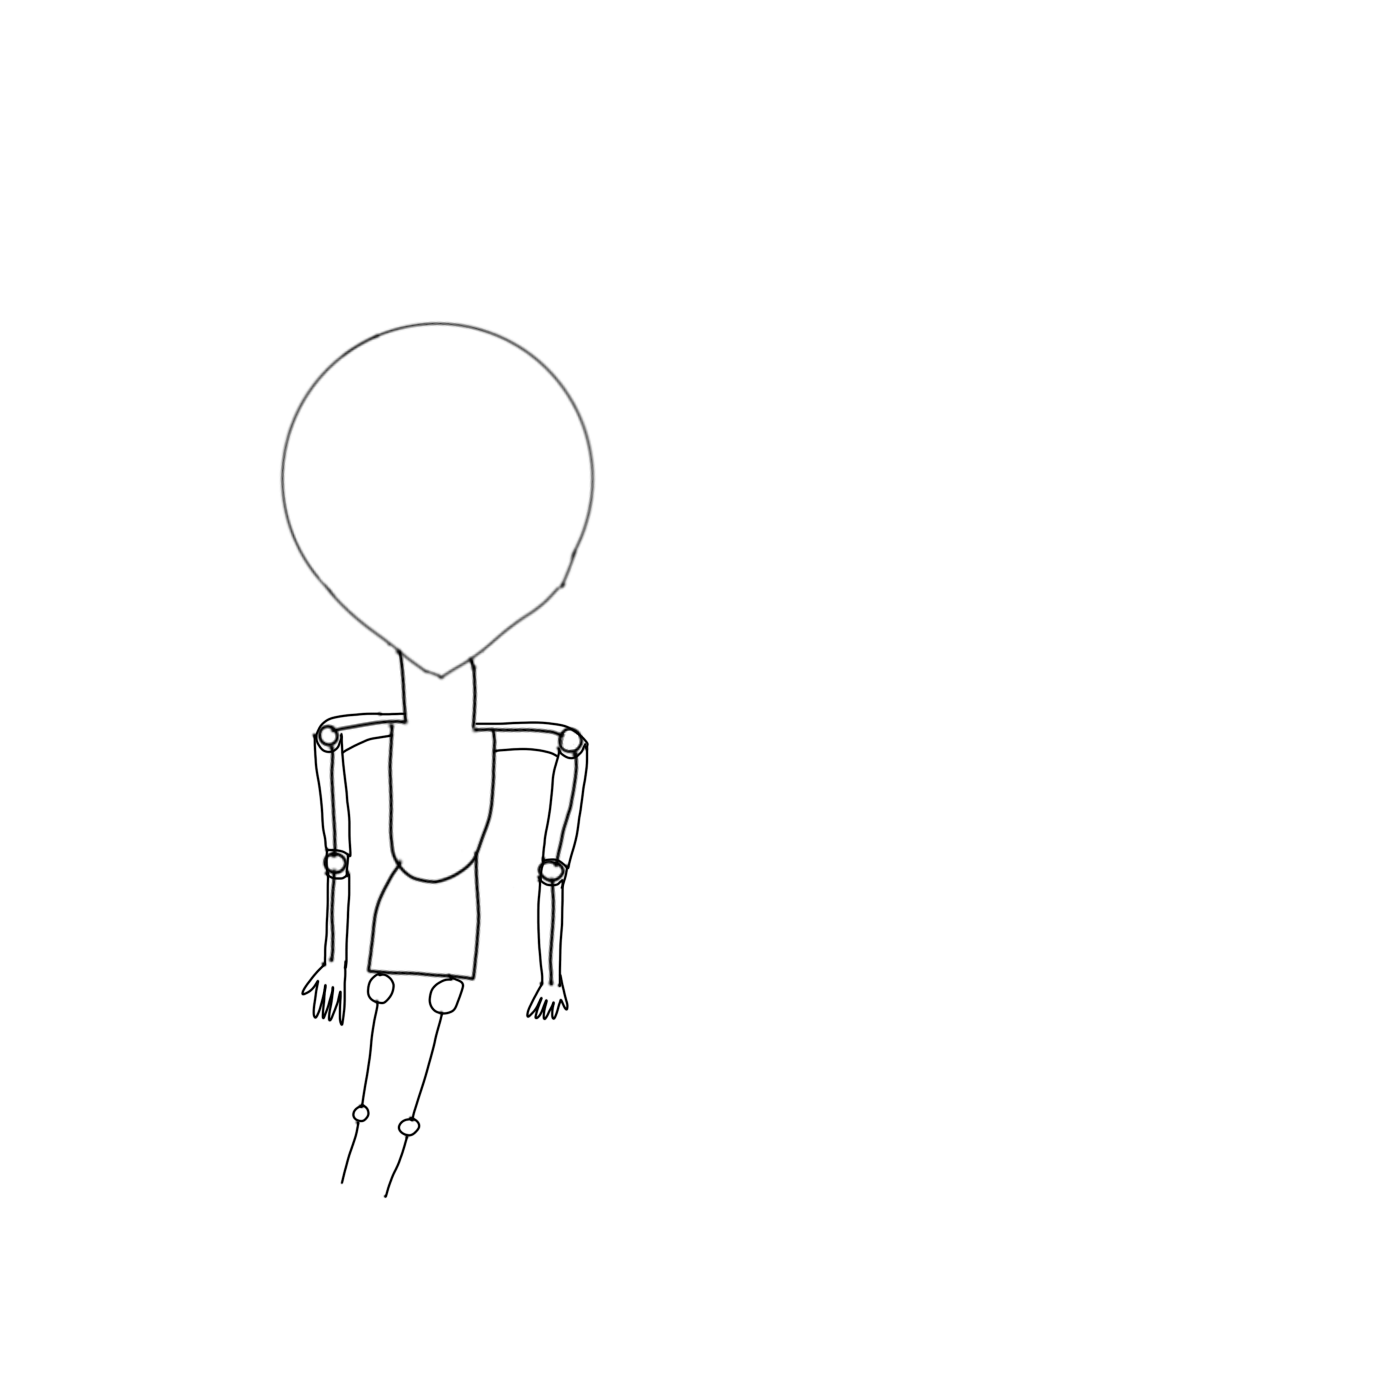
Starting sketch - Any thin or textured brush set to 50% opacity (felt tip pen on ibispaint). Once the sketch is done, lower the layer to 50% opacity and make a line art layer above it
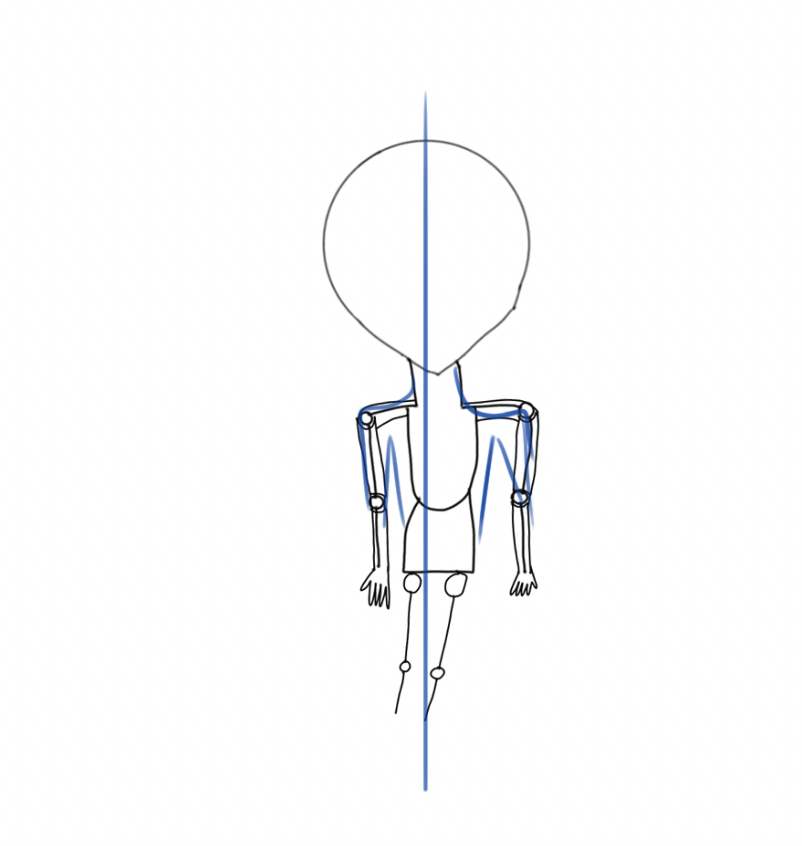
Inking - Trace over the translucent sketch layer, make sure it’s a new layer, and fix all the little details from before. You can repeat this step as many times as you want by lowering the layer opacity to half (or anything around that), adding a new inking layer on top and lining the drawing until you’re satisfied with the progress
Colours - Make a layer under the inking layer (above all the sketch layers). Use the fill bucket tool to fill in all the lines on the colour layer. It’s important to make sure these are all separate layers. An important part of this is knowing colour theory, and that skill comes with time. Once you’re finished with this step, the art should be good enough to post if you wish. Some artists don’t do much more than flat colours, it’s up to you.
Shading Shadows - I add a layer above the colour layer and clip it down so anything you draw doesn’t go outside the colour boundaries. There are many ways to go about this part, so follow the artist method you prefer the most. I head to blending modes and set the shading layer to multiply, then choose a colour most shown on the canvas plus a lighter grey. The multiply blend mode makes the colour you currently have selected add with the colours on top to make it all darker. That way, you can use one grey-ish colour to shade the entire drawing without worrying about constantly colour picking a new pallet. Check out some videos on ambient occlusion, they have great explanations on shading theory. Make sure to keep a consistent light source. I would not use direct black for this method.
- The important thing to remember is that most of the sketch and inking process is the same for many artists. Once you get to shading, it branches off heavily. There is this odd statement circulating with the negativity over shading with black. While it doesn’t fit my process, there are successful methods that do incorporate it, so I wouldn’t bank on anything until you try it.
Shading Highlights - I don’t always do this as, but it can make some illustrations look that much more appealing. Choose another light source, opposite to the shadows and use a screen blending mode this time. As the opposite to multiply, screen will make the colour you currently have added to the colours on the canvas. I would not use direct white for this method.
Extras - This step is also optional, but it’s more of a check-up on the current colours. You can go to levels in the settings (most programs have this) and just the brightness/contrast and hue/saturation on your artwork to see different versions to make any colours pop out. Remember to sign your art or leave some designation in place.
I would probably make a video on this, except I have subliminal recording equipment.