Tutorial 1
It’s time for the first tutorial, basic stuff and information about how to make a good outline.
A couple of things are important to take into consideration when making an outline and you have different paths to go. But first some basic tips. I use ibis paint btw, so it could be different from what you use.
Basic advice
Use at least a 2500 by 2500 pixels canvas, in the beginning I worked on smaller canvases but I noticed quickly I can work way more detailed on a bigger canvas.
Always use stabilizer if it’s available, it will make lines flow better.
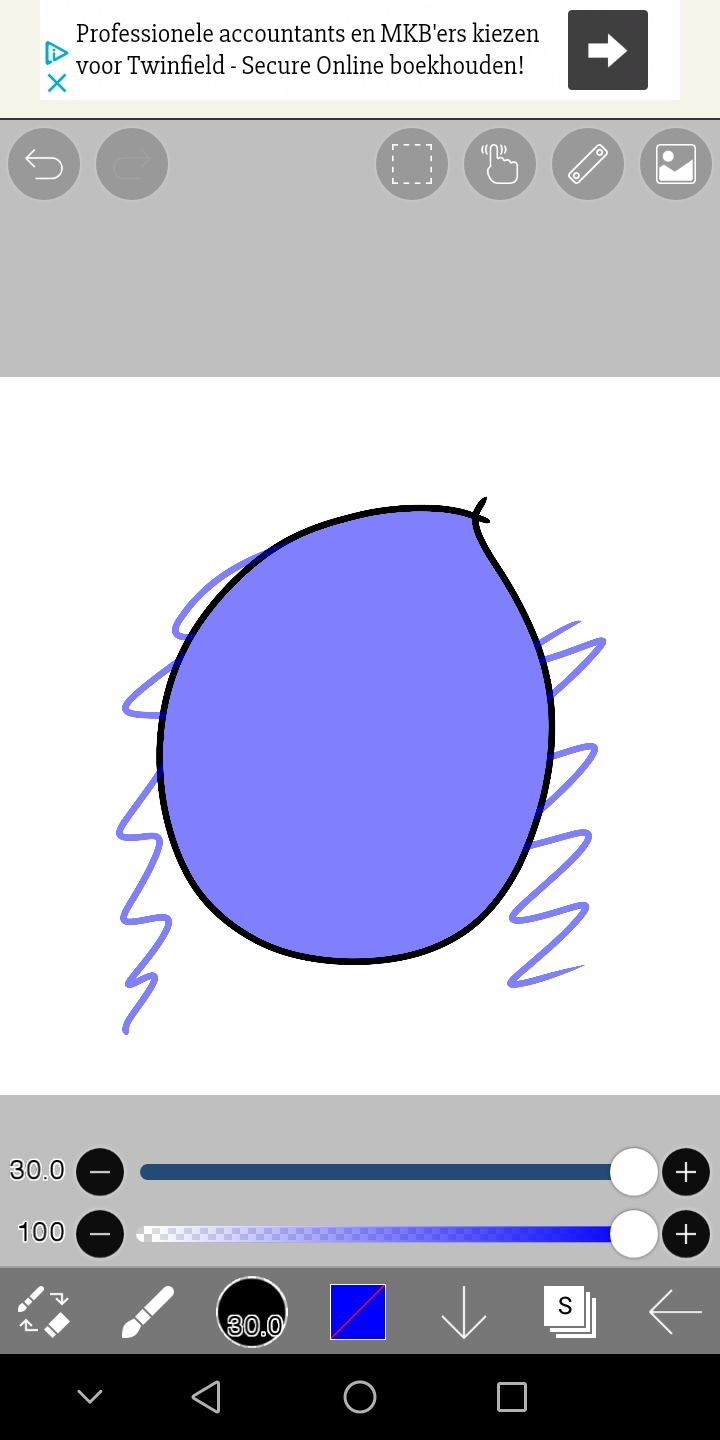
Especially when outlining force fade is really useful since it just makes the quality of the outline better and you avoid weird overlapping lines.
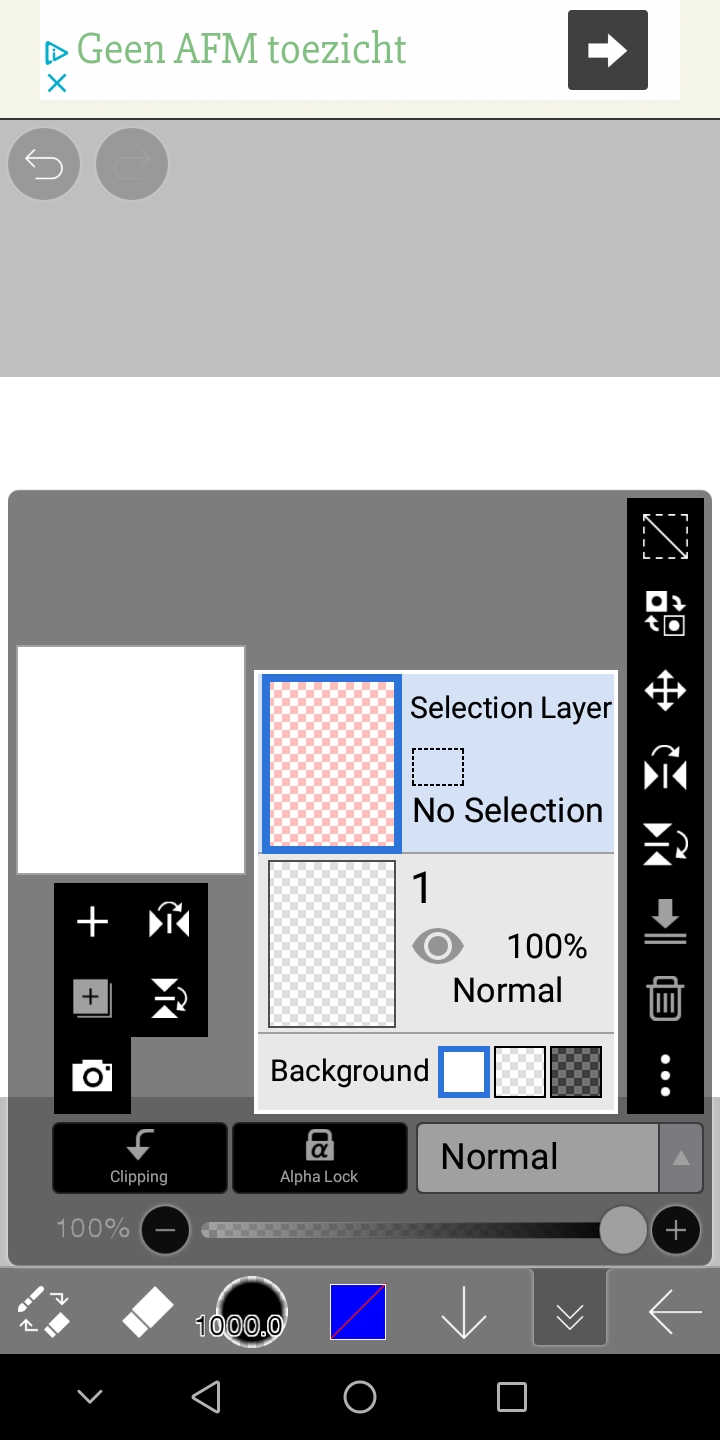
Ibis paint has a really useful selection layer, use this to help you with coloring inside the lines!
Outlines
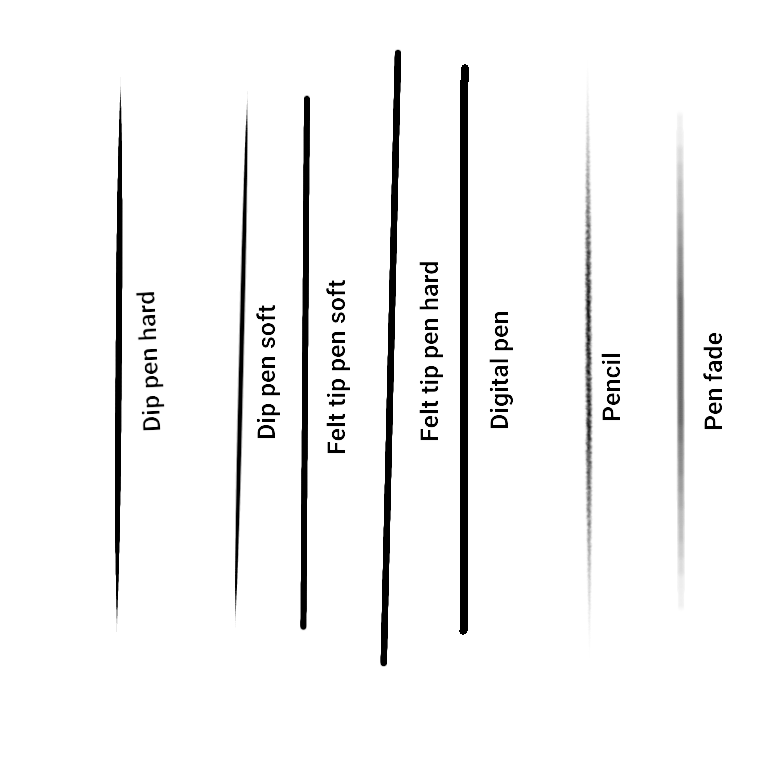
First important point is which brush to use for an outline? Personally I prefer mixing the brushes. This is a selection of brushes I do use, at least occasionally, for the outline.
I will explain one by one where and why I use them.
Dip pen hard: the neat version of the biggest part outline.
Dip pen soft: I use this one for eyes (especially the lashes) and lips. Sometimes the nose for a bit softer look
Felt tip pen soft and hard aren’t that different, but I use those to fill gaps in the outline.
Digital pen is the one I use when making a rough sketch
Pencil I use occasionally for the line above the eyes, just really tiny details that don’t need a lot of focus.
The fade one is excellent for the inside part of the eyebrows in my opinion
Secondly proportions are probably the very most important thing in any art piece, if something is wrong it will be noticed. I had the feeling something was off a lot and in 99% of the cases it is in the proportions and sizes. Personally I would advise beginners to trace (copyright free of course) images and study at lot of faces by looking at pictures. If you are a bit more experienced I would advise you to put a comparable pose of what you want to make on the side of your canvas.
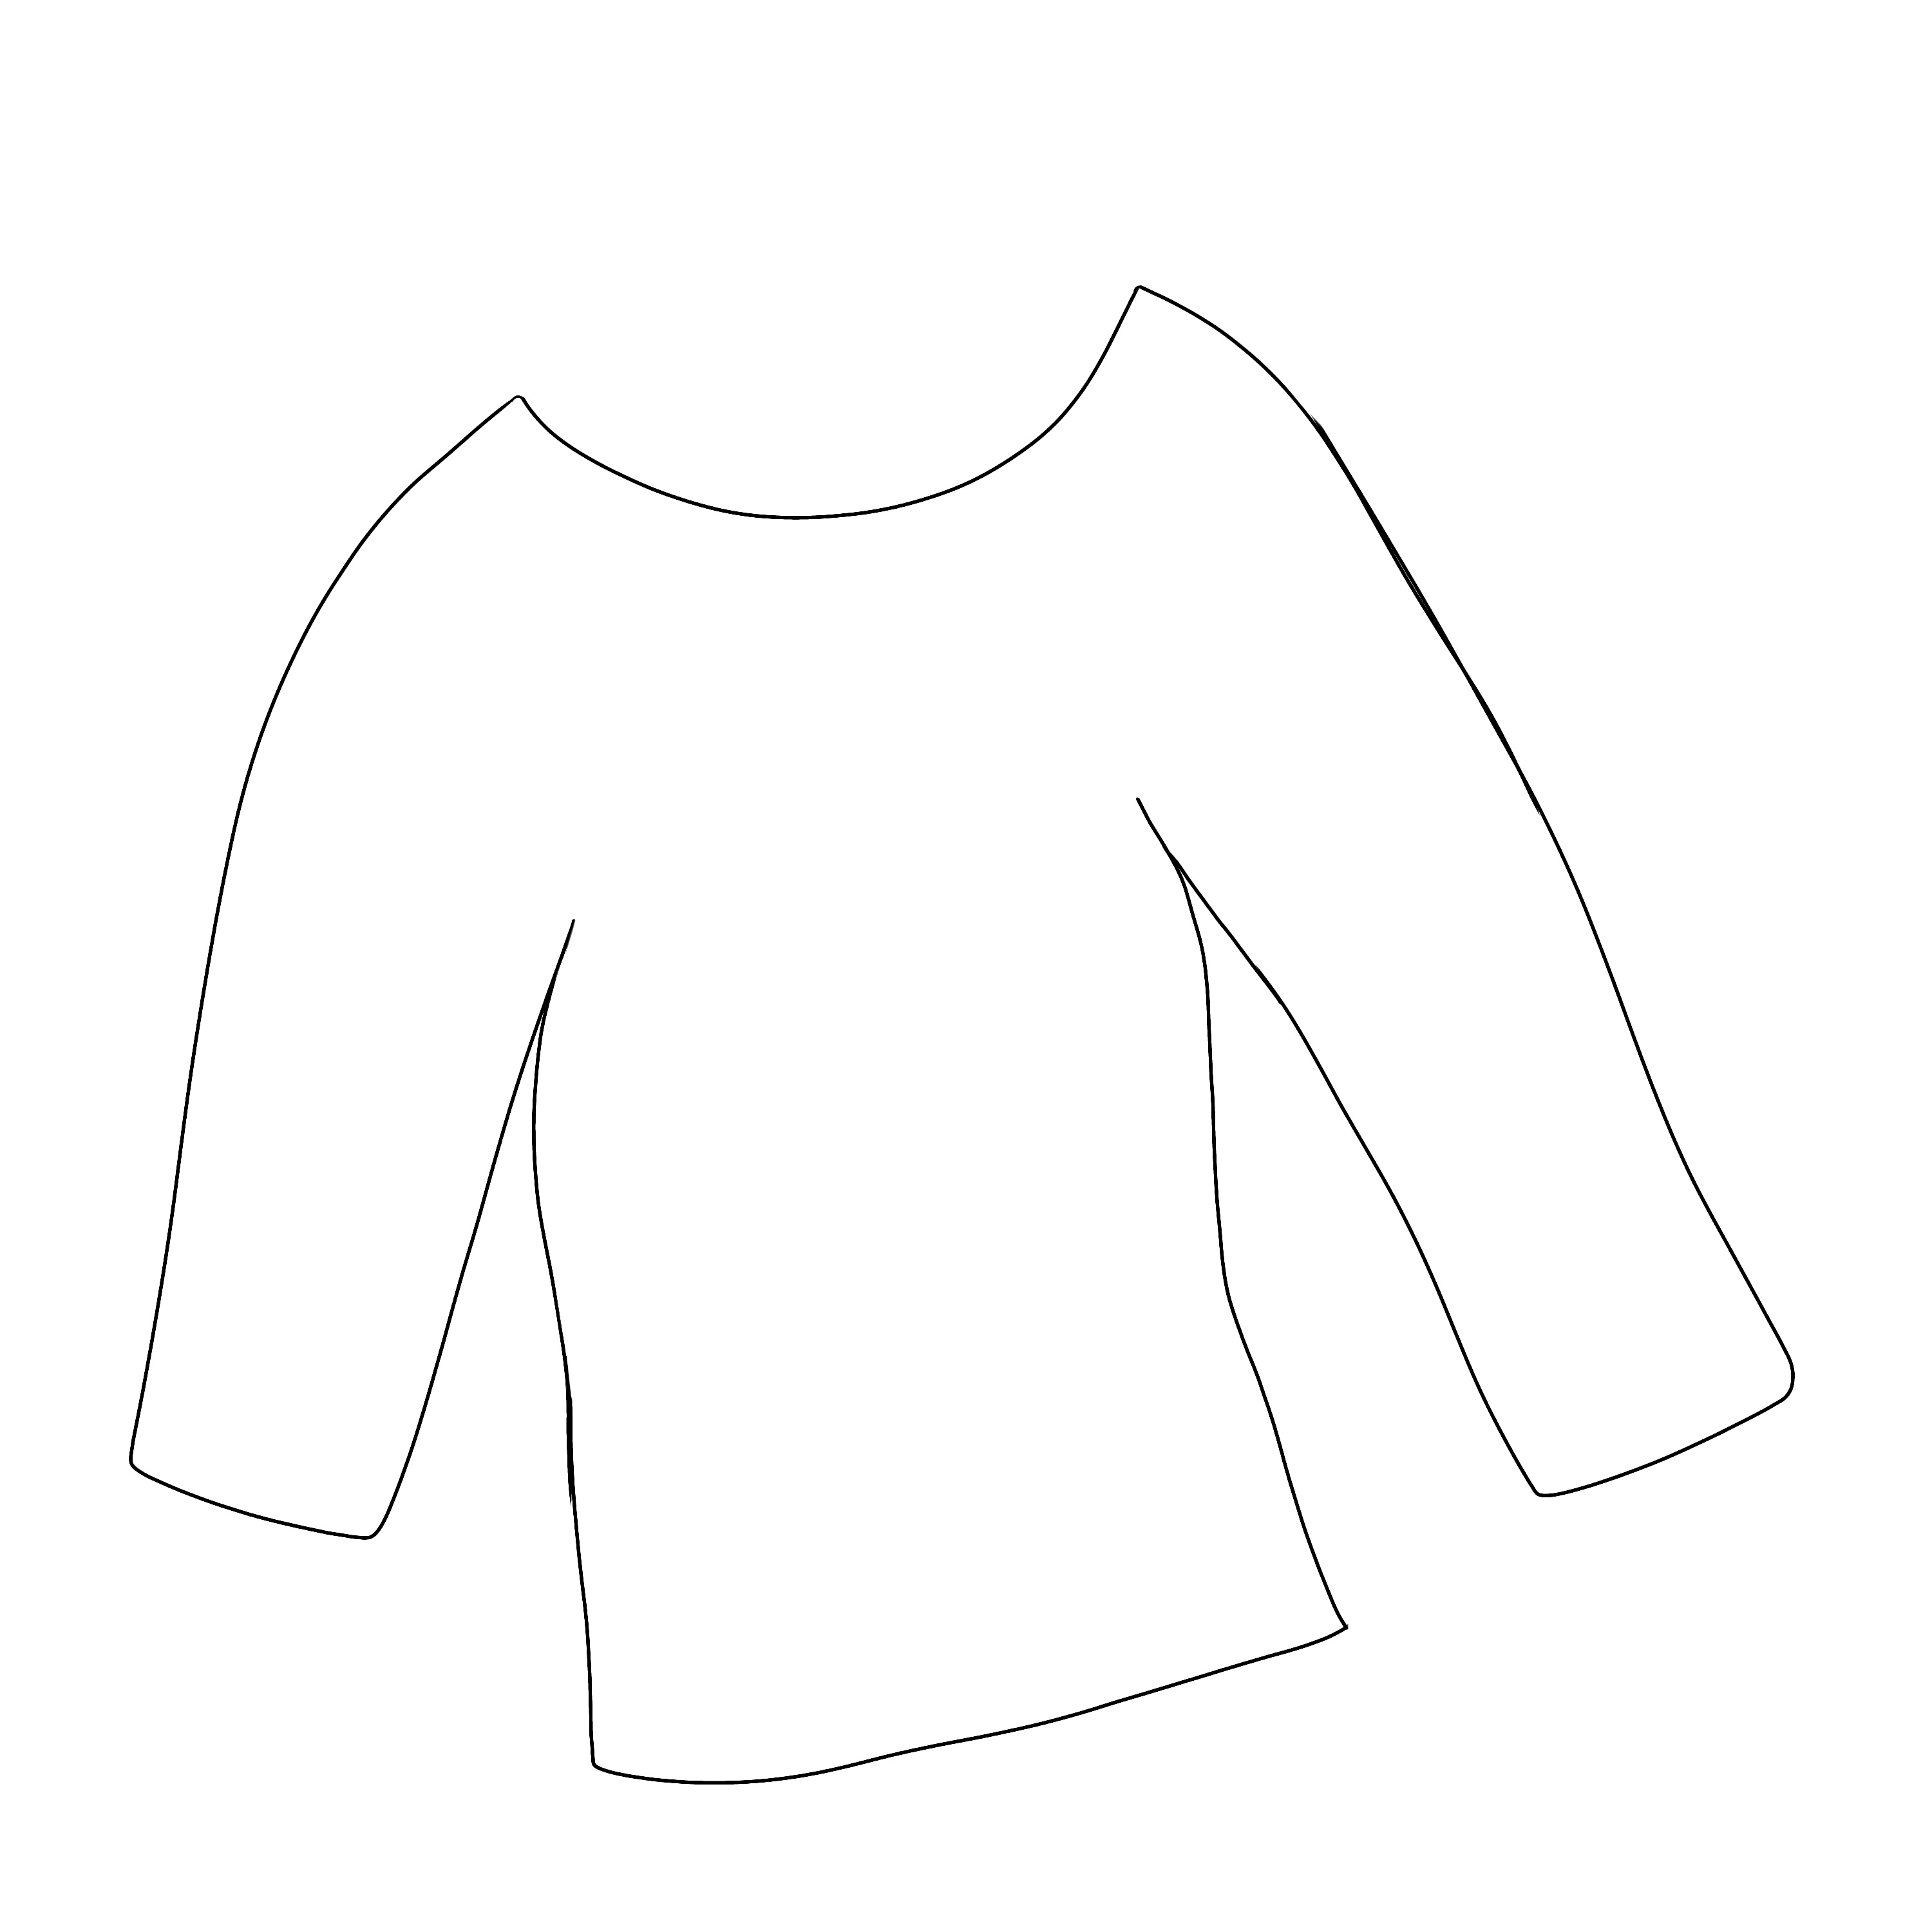
There are a few options how to make an outline, I will go through them all.
Option 1 (tracing your own rough outline)
Begin sketching the outline really rough, like pen size 15 on a 2500 by 2500 canvas. Slowly remove and draw new lines till you have the pose you want. Then put the opacity of this layer lower (to 30/40) and add a new layer. On this layer trace the rough outline with a pen size of 5 max.
Option 2 (no tracing at all)
Start with a small brush, about 4/5 and just draw. Then fix parts you messed up, it’s as easy as that. I wouldn’t advise this unless you are more experienced, since even tho it’s the quickest way there is a high risk of your outline ending up with lines that look weird cause they are erased, drawn again, erased and once more drawn. It’s hard to make it flow perfectly this way.
Option 3 (tracing)
I wouldn’t advice this unless you are a beginner cause you can get stuck in the art piece you are tracing and lose creativity. Anyway put the copyright free image you want to trace as lowest layer, lower the opacity to 40/50 ish, and start tracing on a new layer.
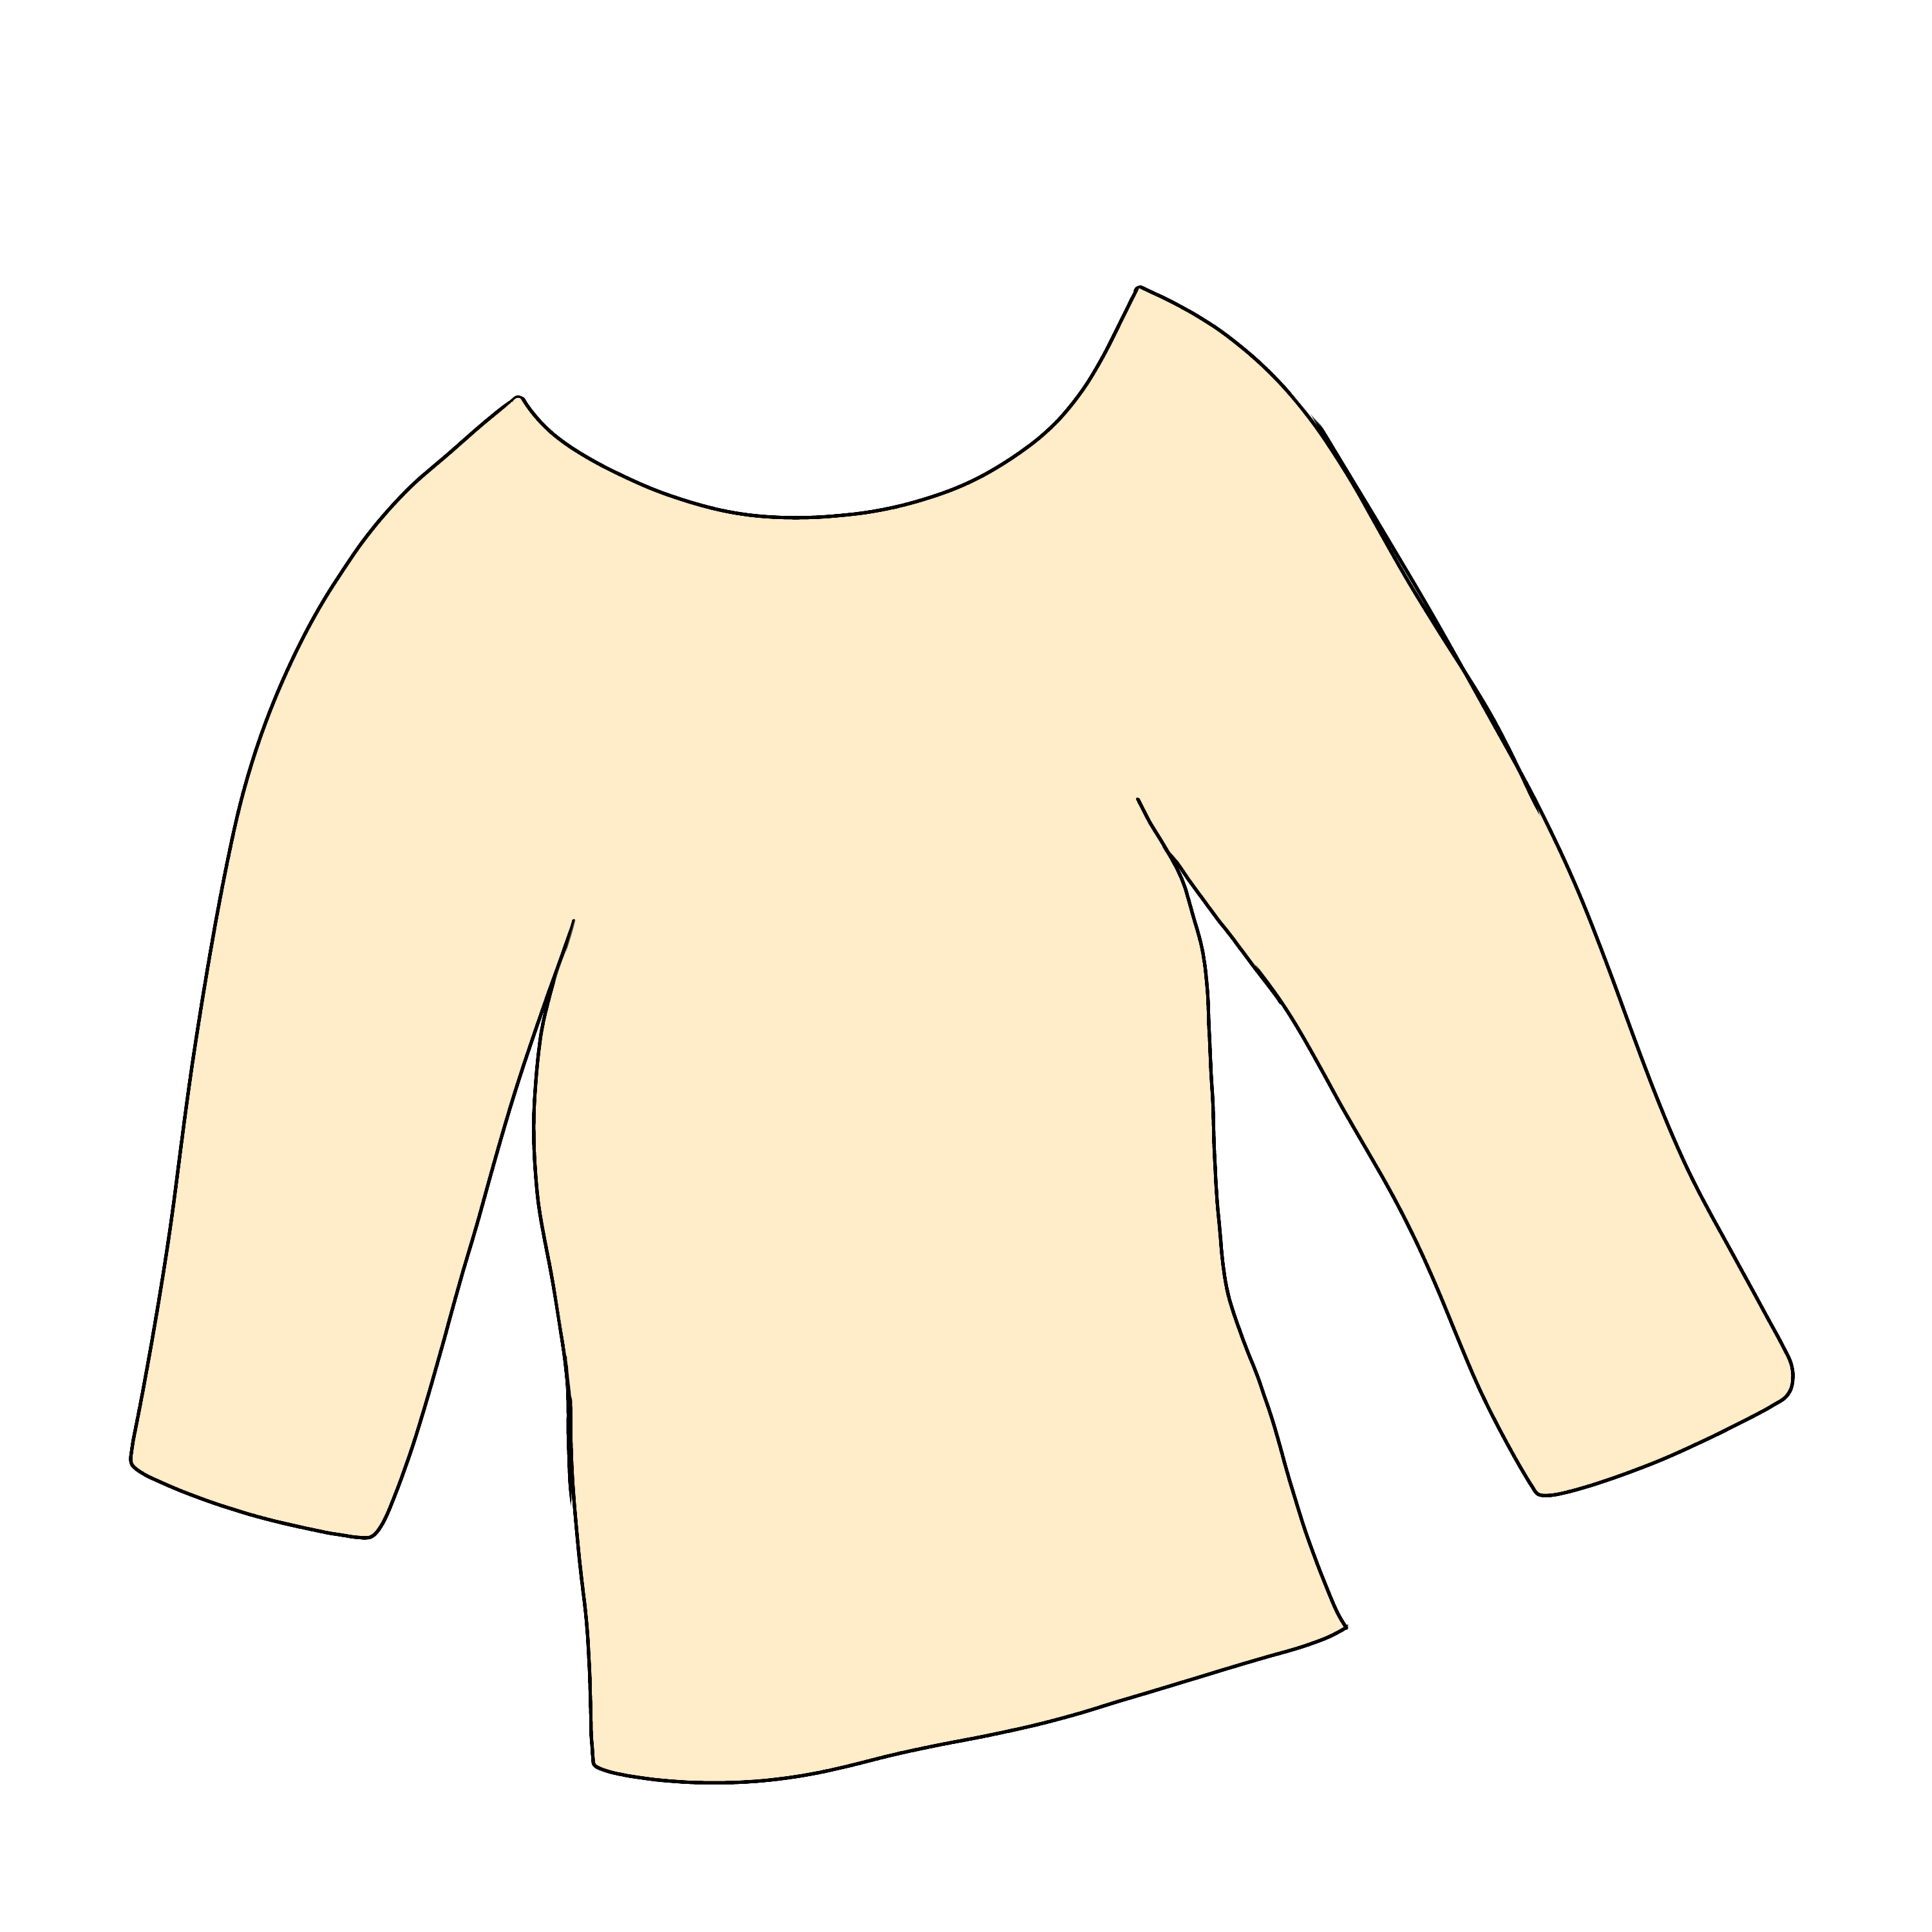
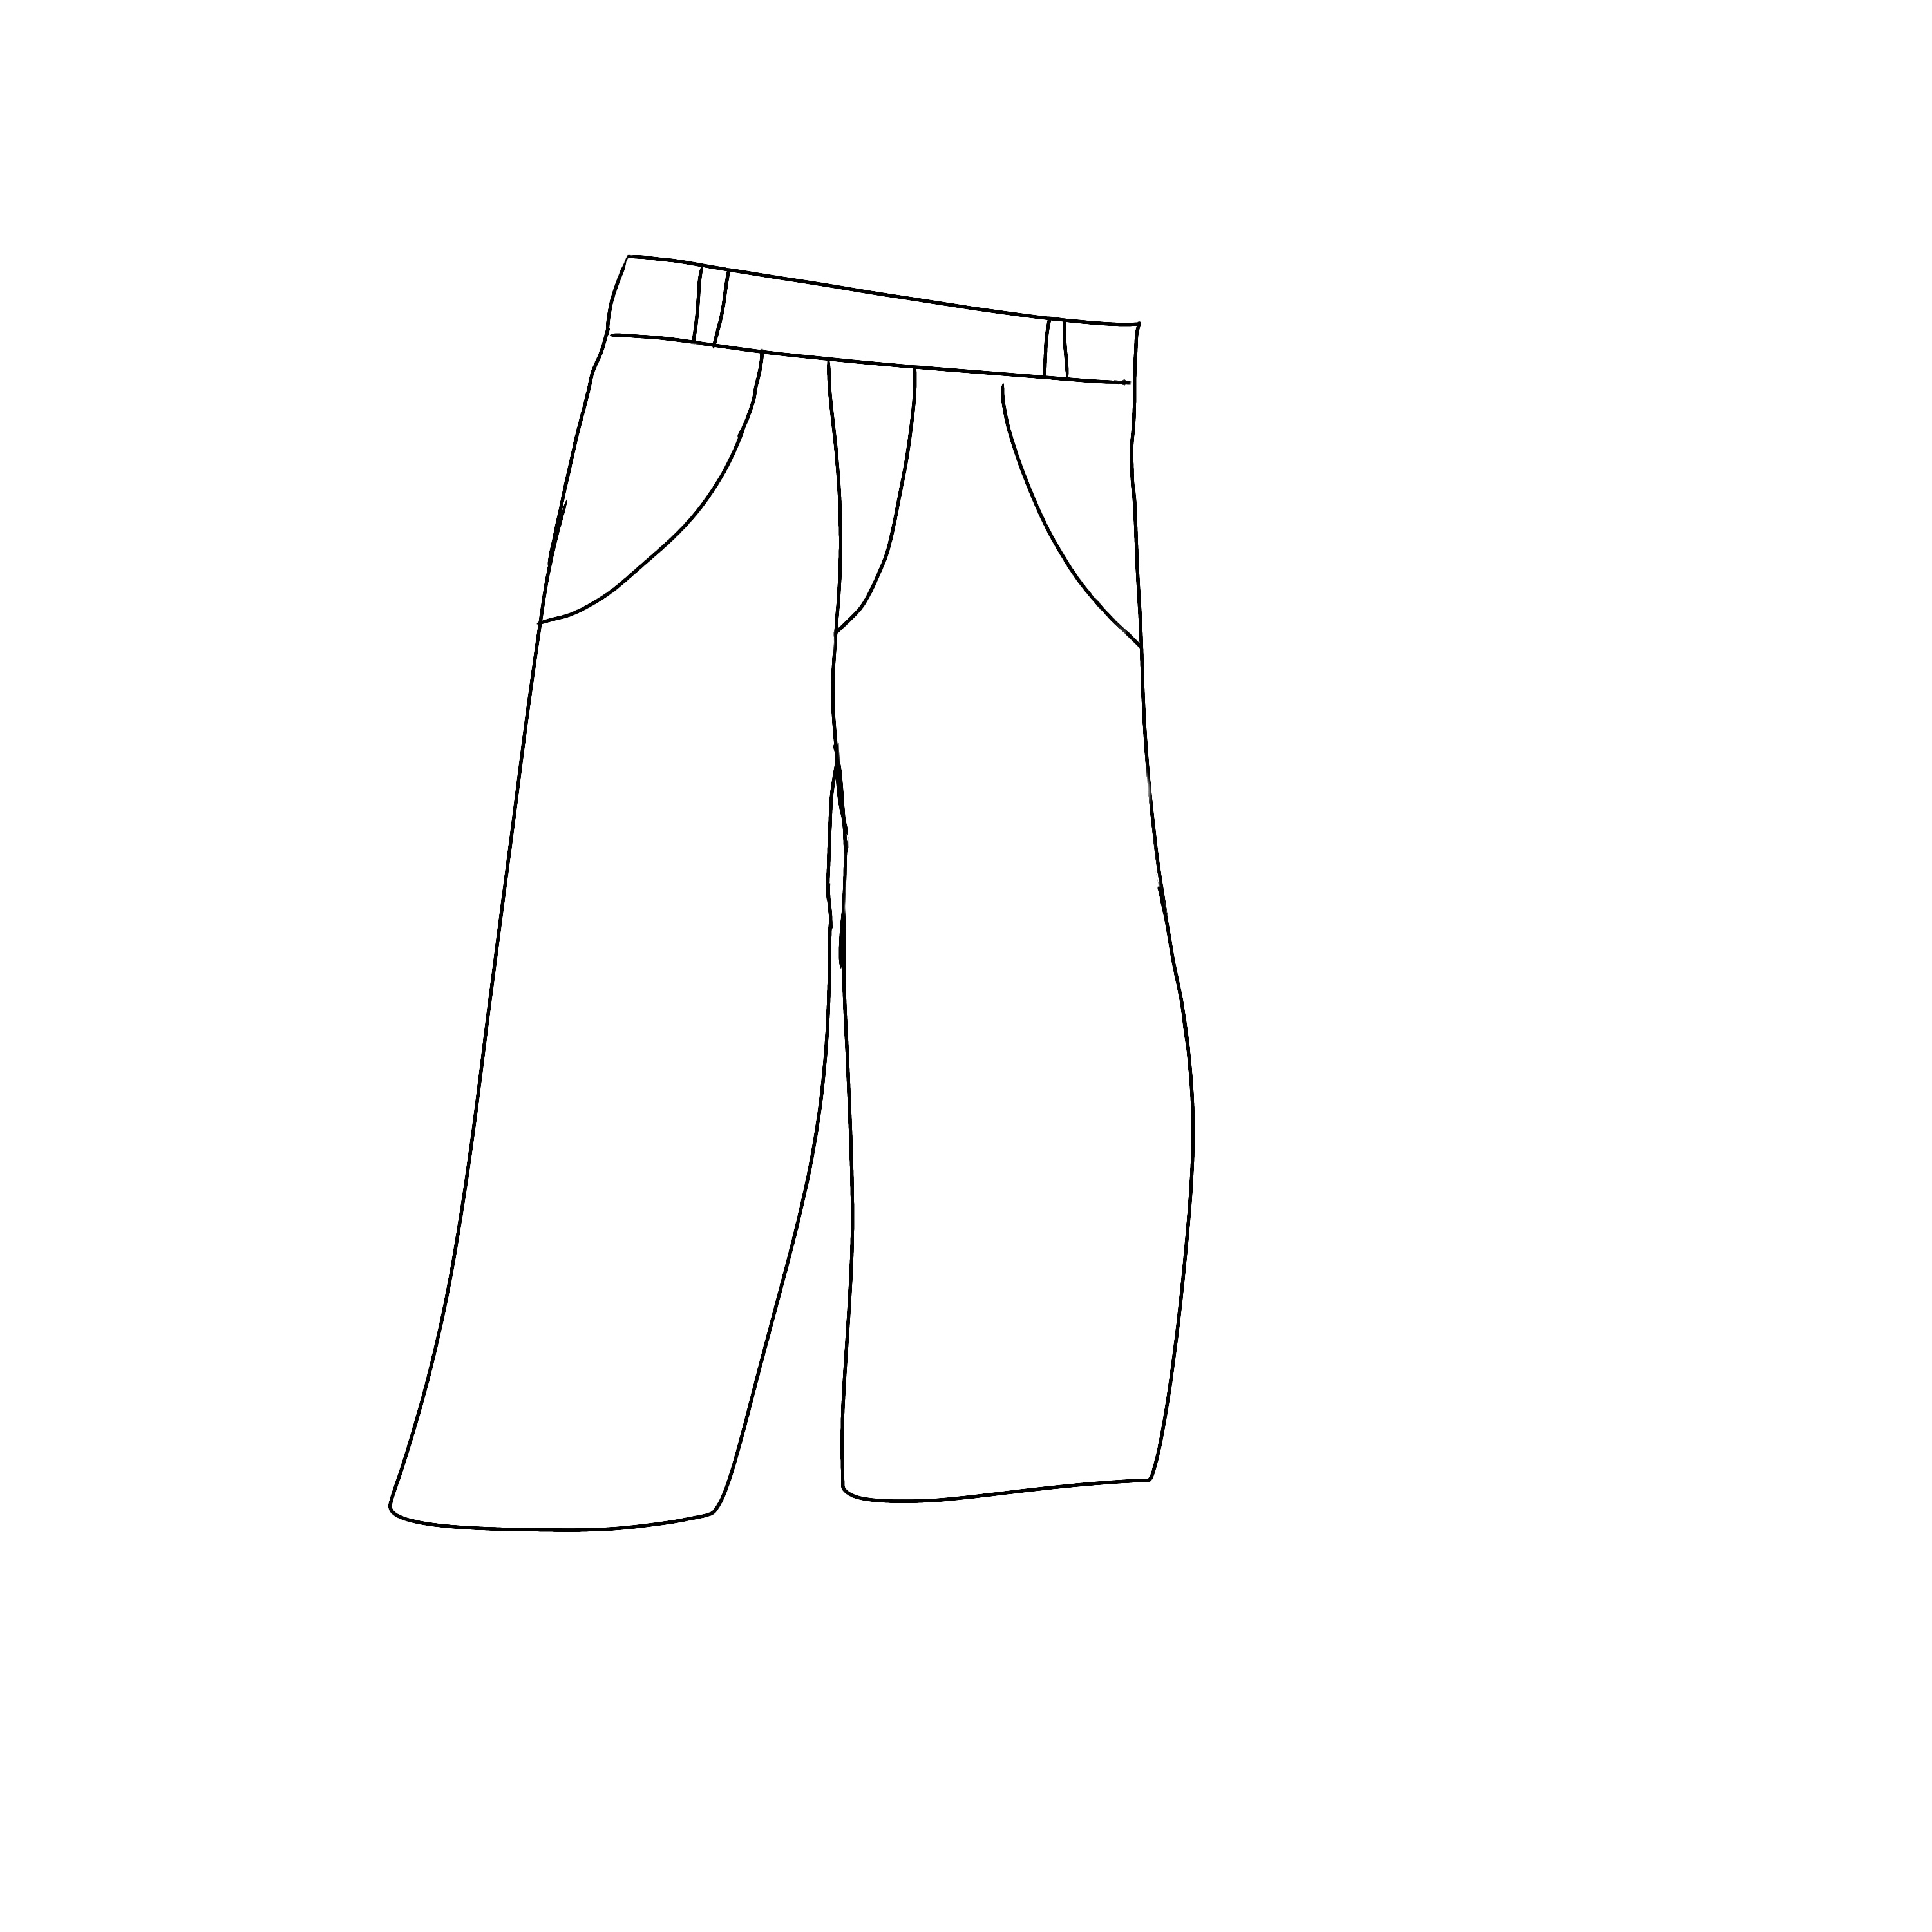
What’s the difference between a good or bad outline?
Good:
Straight lines taken in 1 go, no stops
No lines crossing over
Not to thin or thick lines
Bad:
Lines where you notice many stops
Weird curves in the lines
To thin lines, make it harder to color
To thick lines, just looks unprofessional.
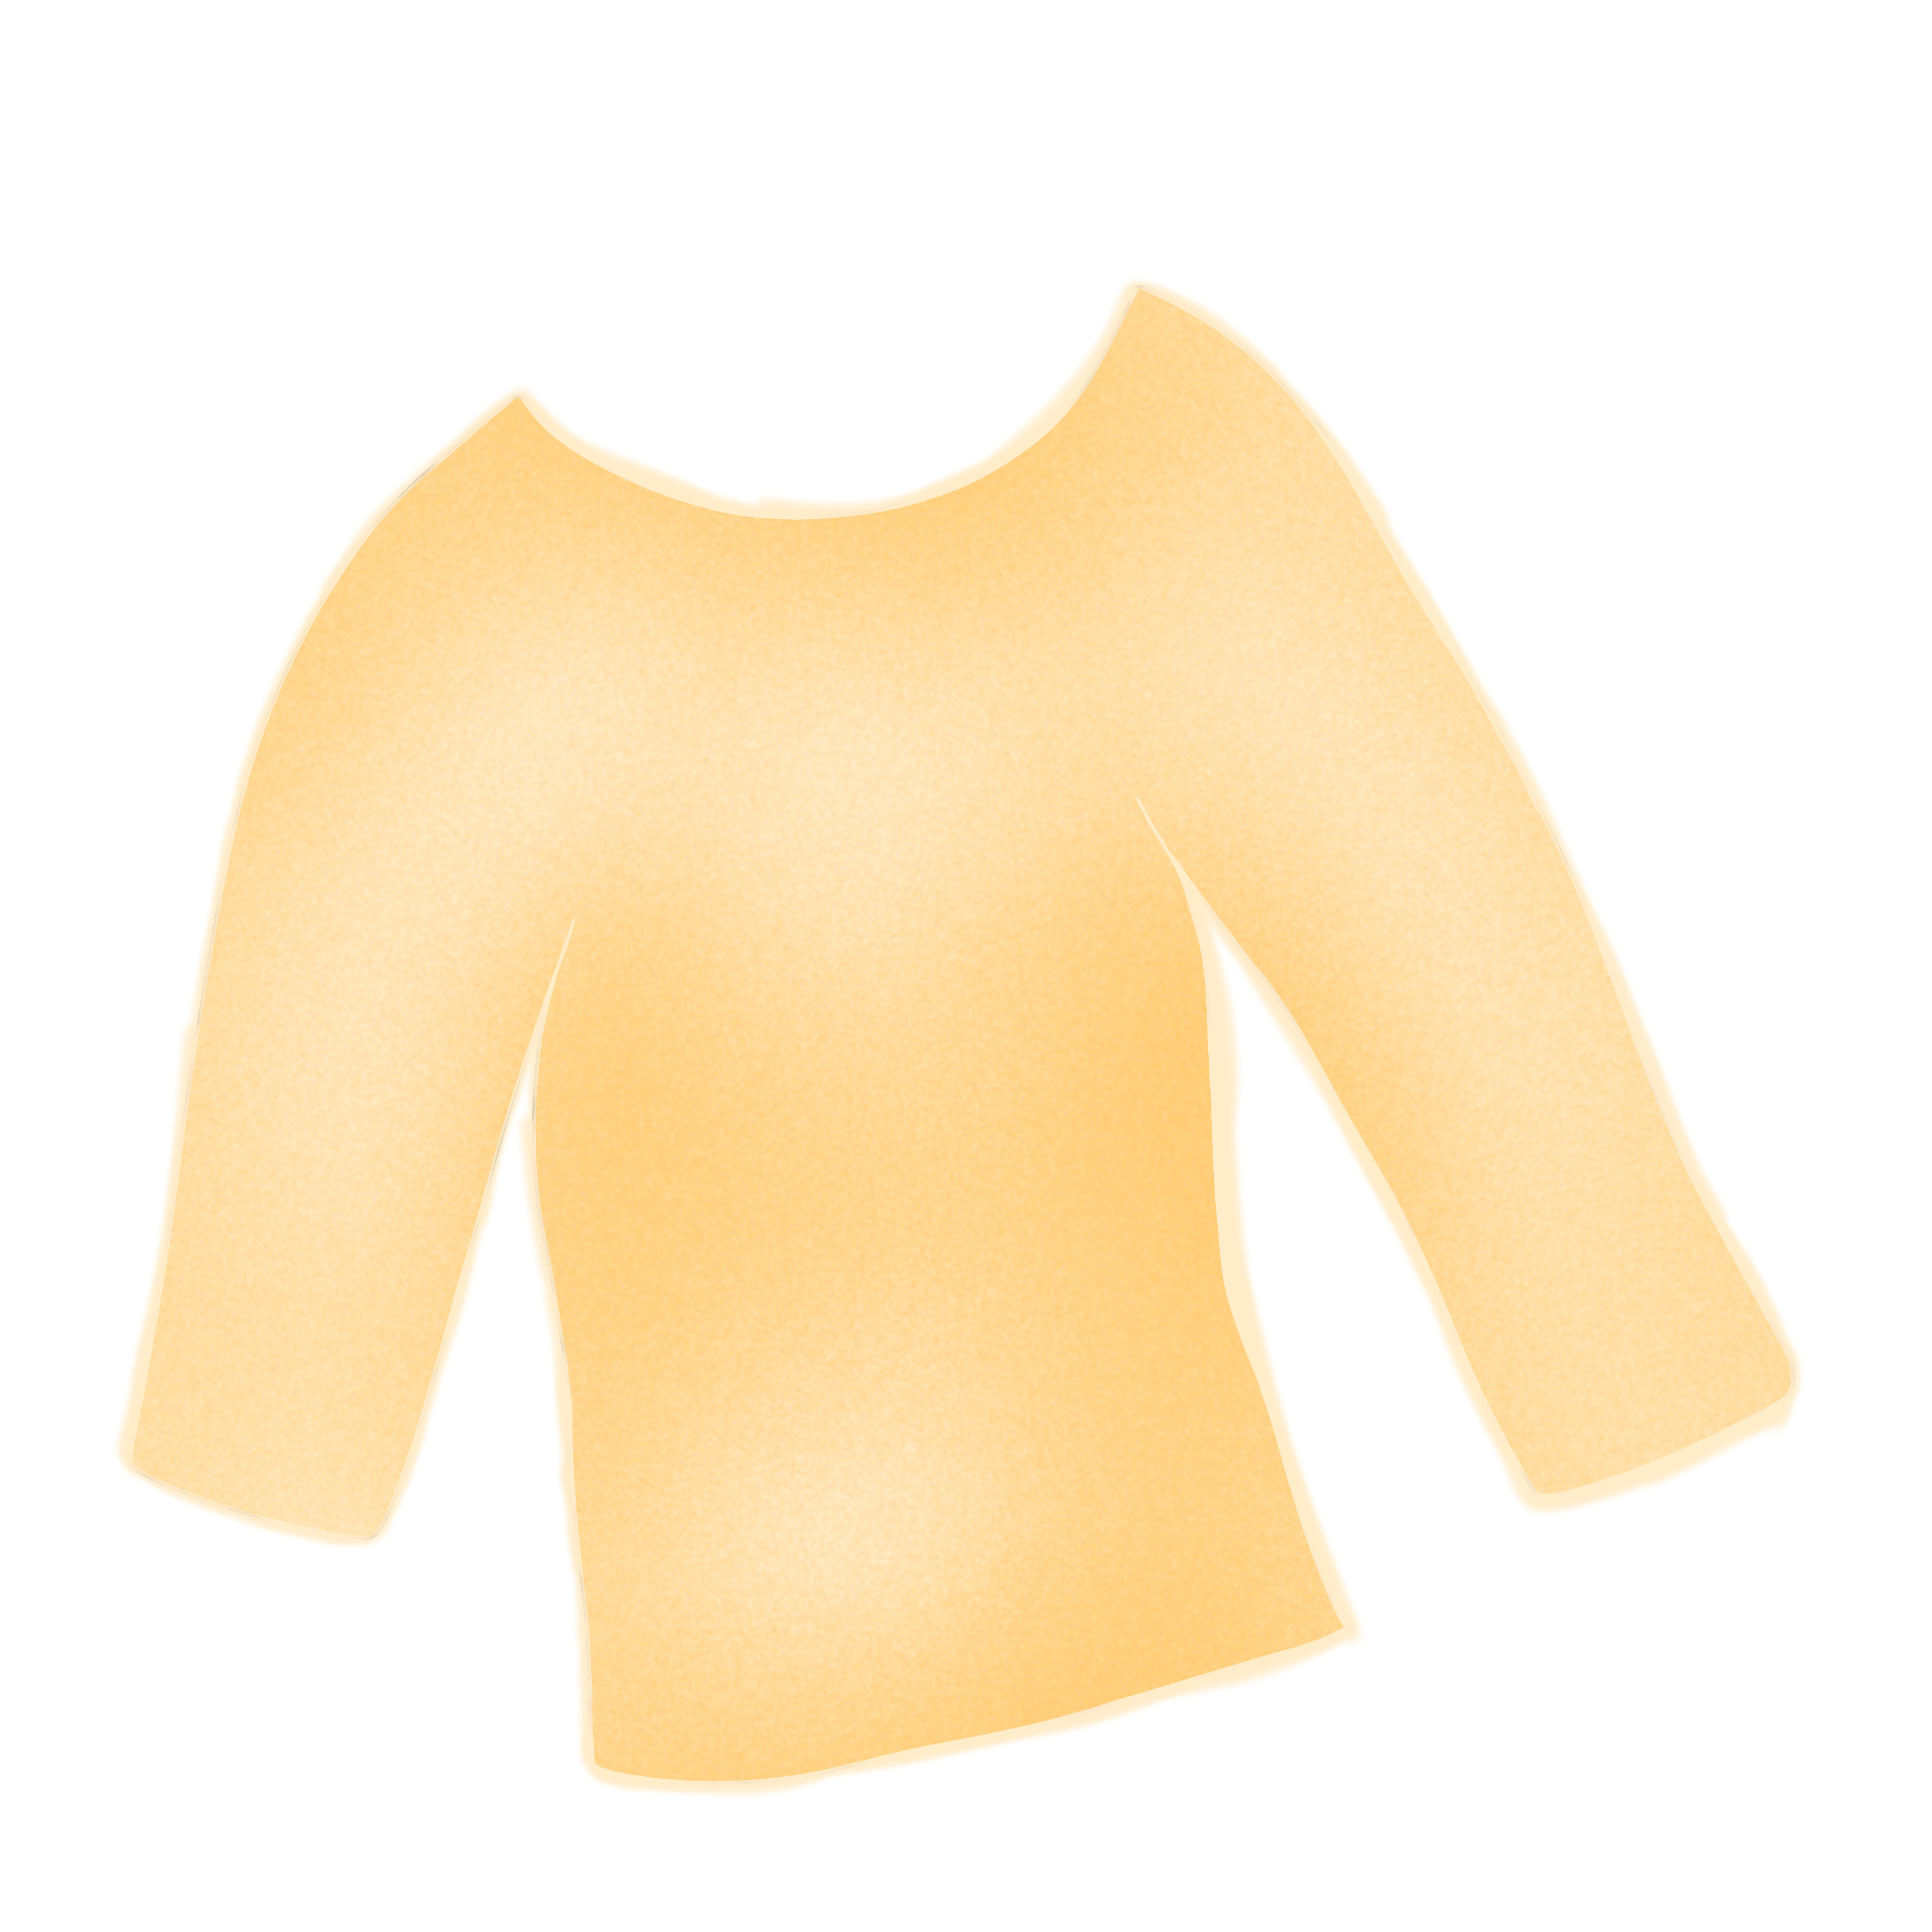
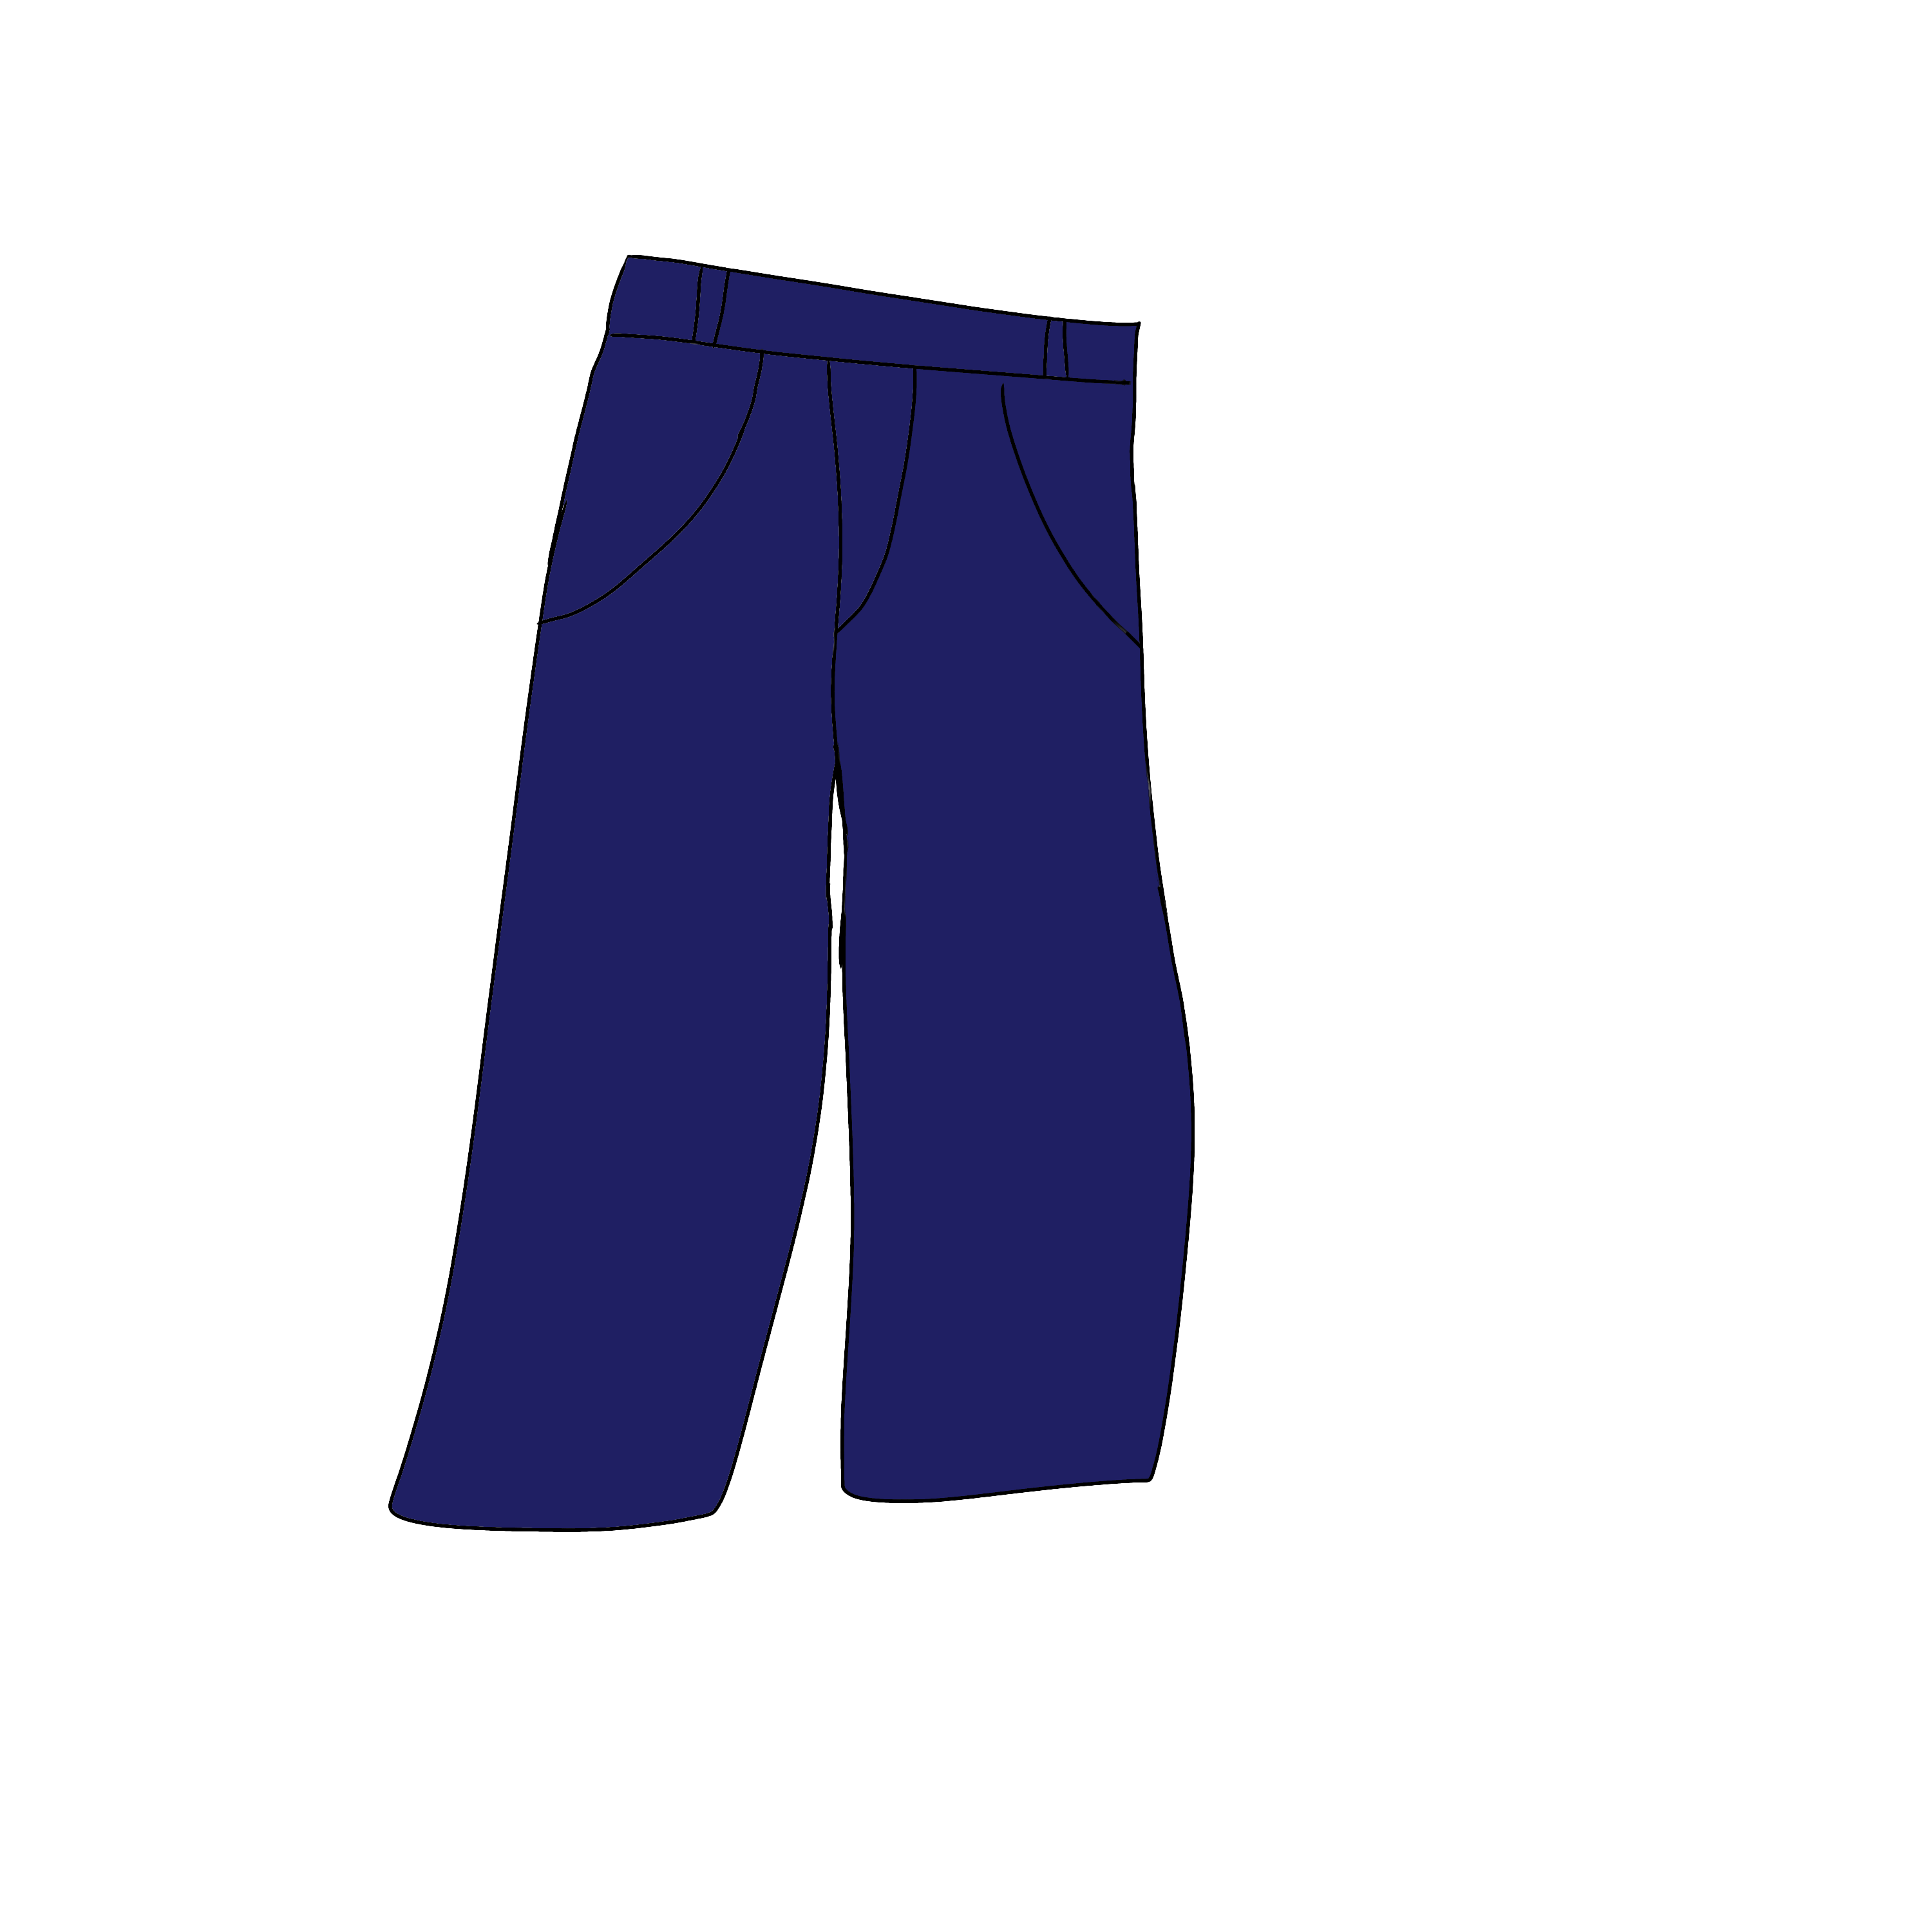
How about an invisible outline?!
I like invisible outline, this basically means you change the color of the outline from black to the color every part is. You can do this before coloring, which I would advise beginners. It gives you a direction to go. If you are more advanced it might be a better idea to change the color in the end or even on the go cause then you will get exact matching colors and that will improve your work. Also you can use your creativity more since you aren’t stuck yet to certain colors.
In both cases go with a slightly darker color tho, if you use the exact same color it will look weird.
How to specifically draw noses and eyes will be told in the next tutorial and the one after will be about hair and ears.